Managing a WordPress site often involves addressing performance issues and limitations caused by PHP settings. Increasing PHP limits can resolve many common problems such as memory allocation errors, maximum execution time exceeded, and file upload size limitations. This article explores how to increase PHP limits through .htaccess and wp-config.php files, providing a step-by-step guide to enhance your website’s capabilities.
Understanding PHP Limits
PHP, the scripting language that powers WordPress, has several configuration limits that can affect the functionality of your site. Some of them include:
Memory Limit: The maximum amount of memory a script can consume.
Max Execution Time: The maximum time a script is allowed to run before it is terminated.
Upload Max Filesize: The maximum file size that can be uploaded via PHP.
By default, these settings are set conservatively to ensure stability across various server environments. However, as your website grows or requires more resources, these default limits may need adjustment.
Methods to Increase PHP Limits
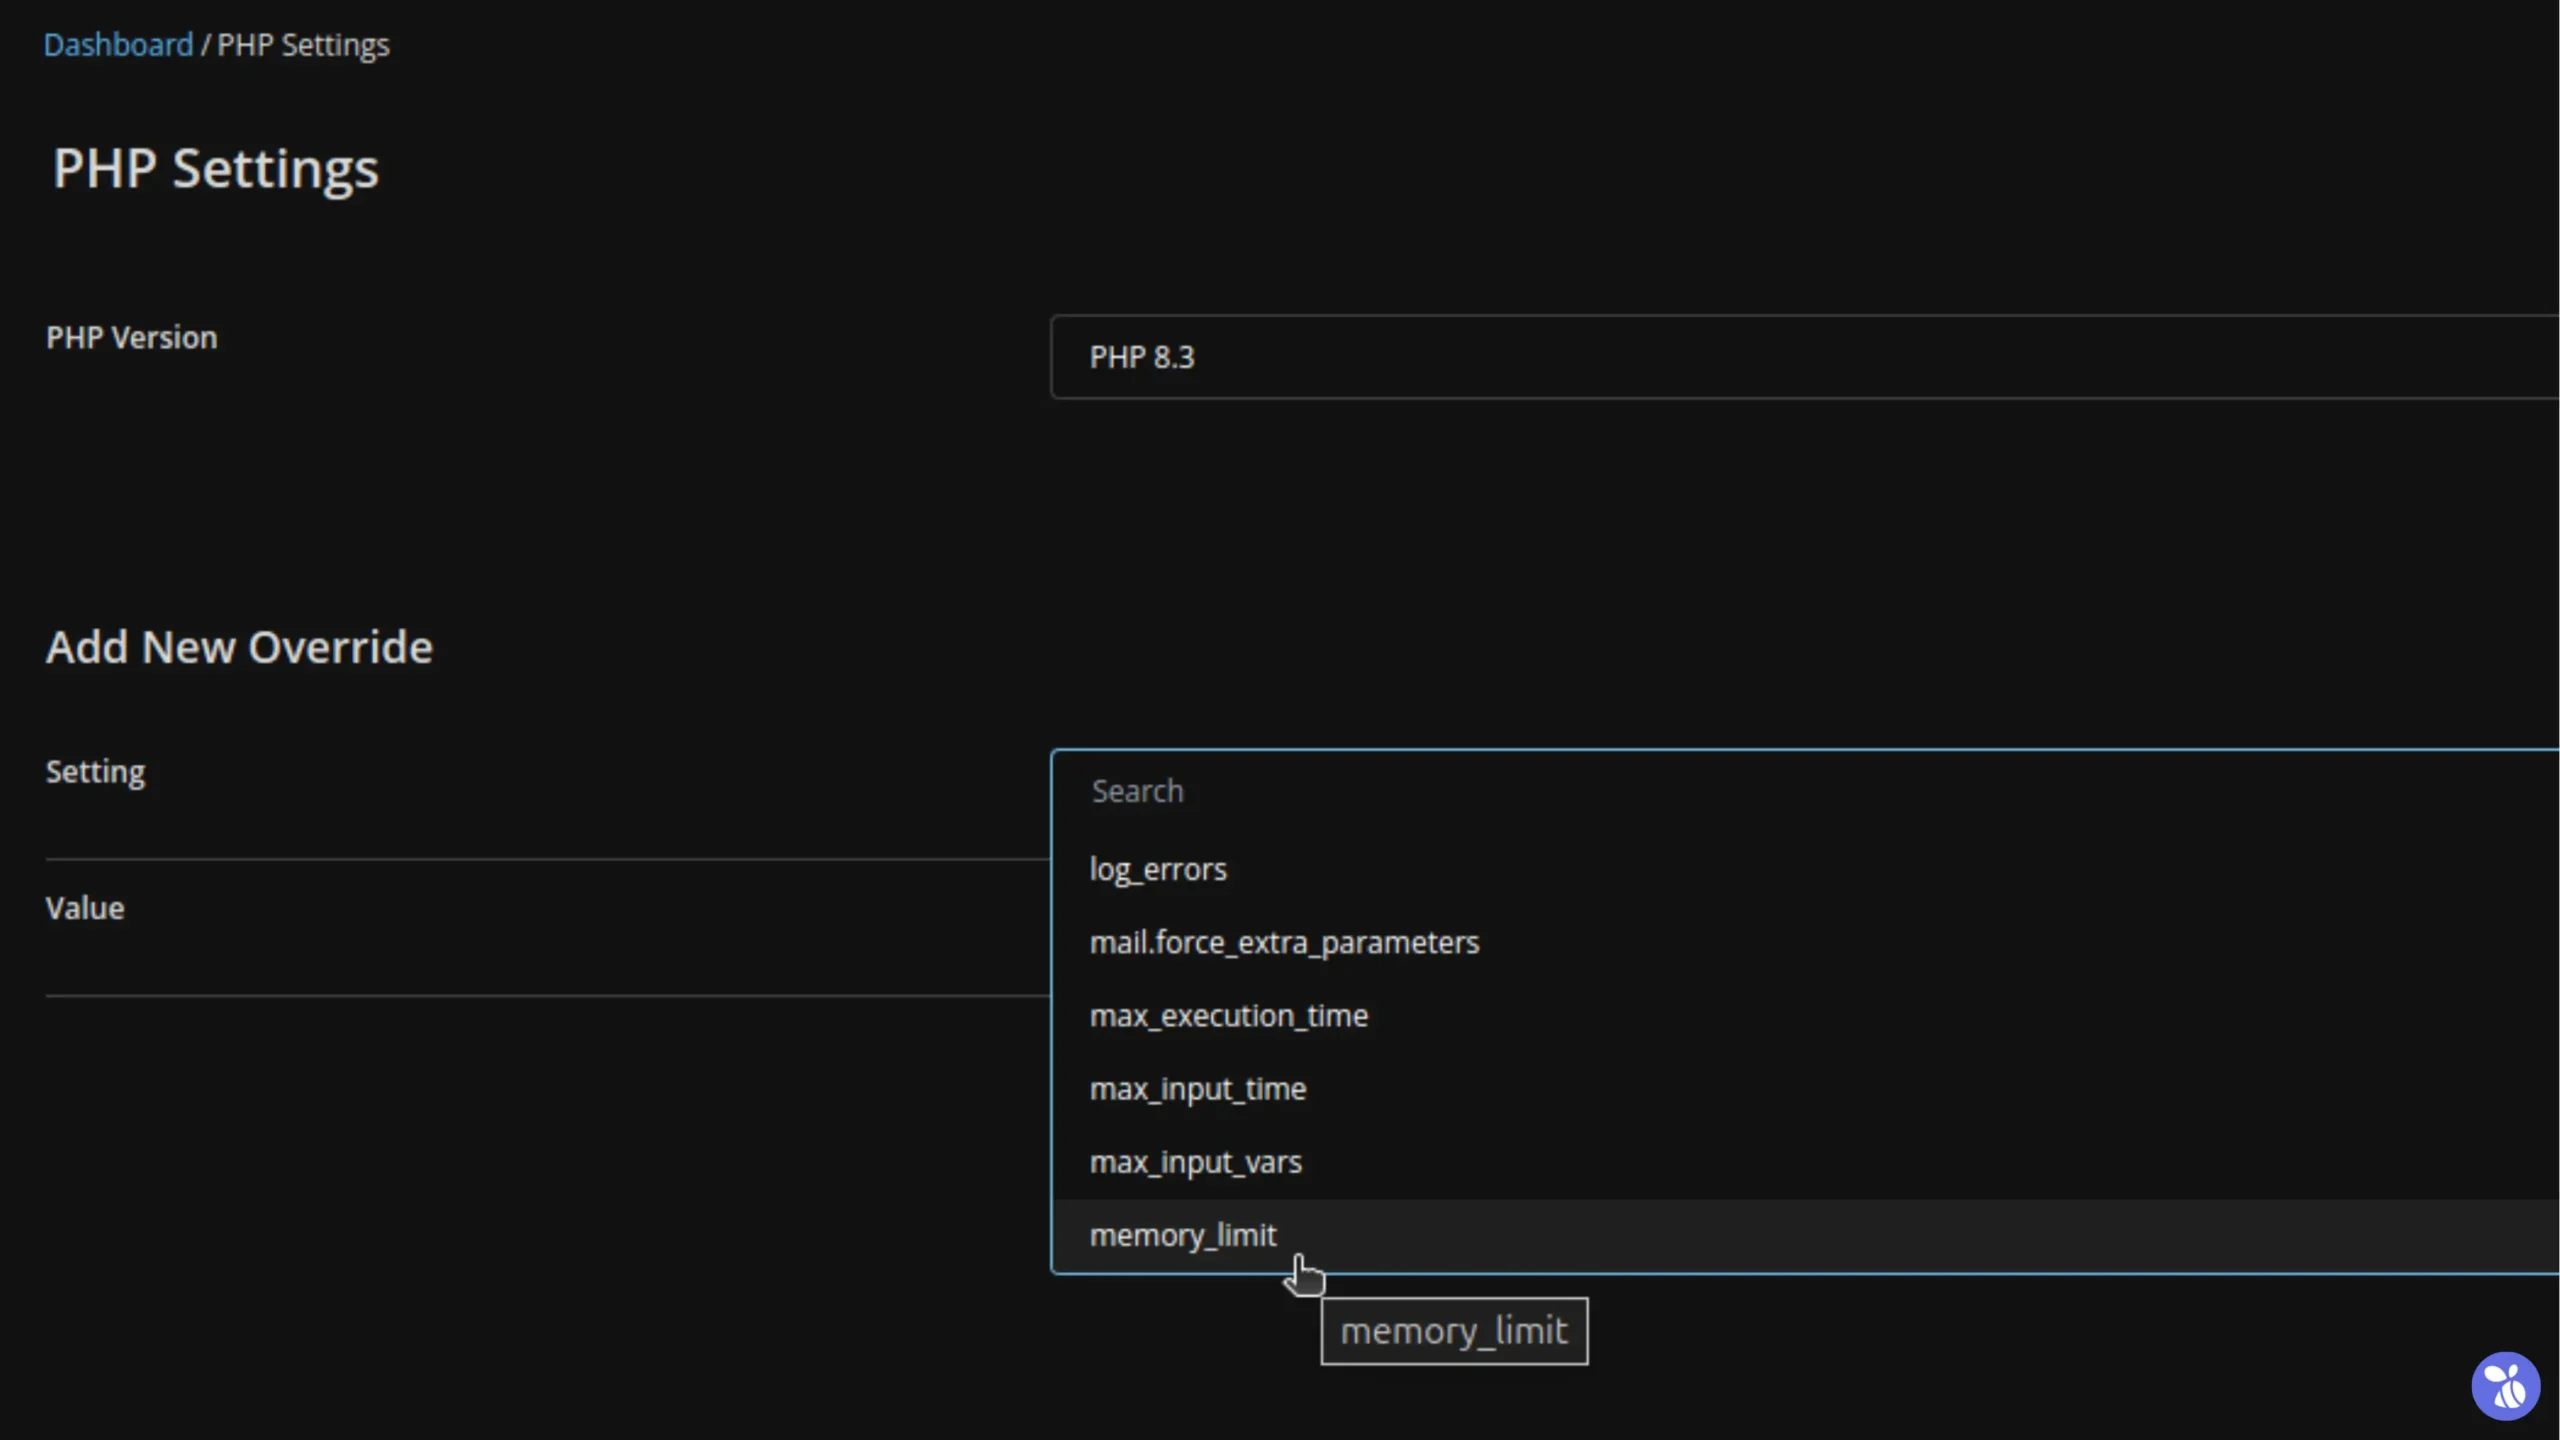
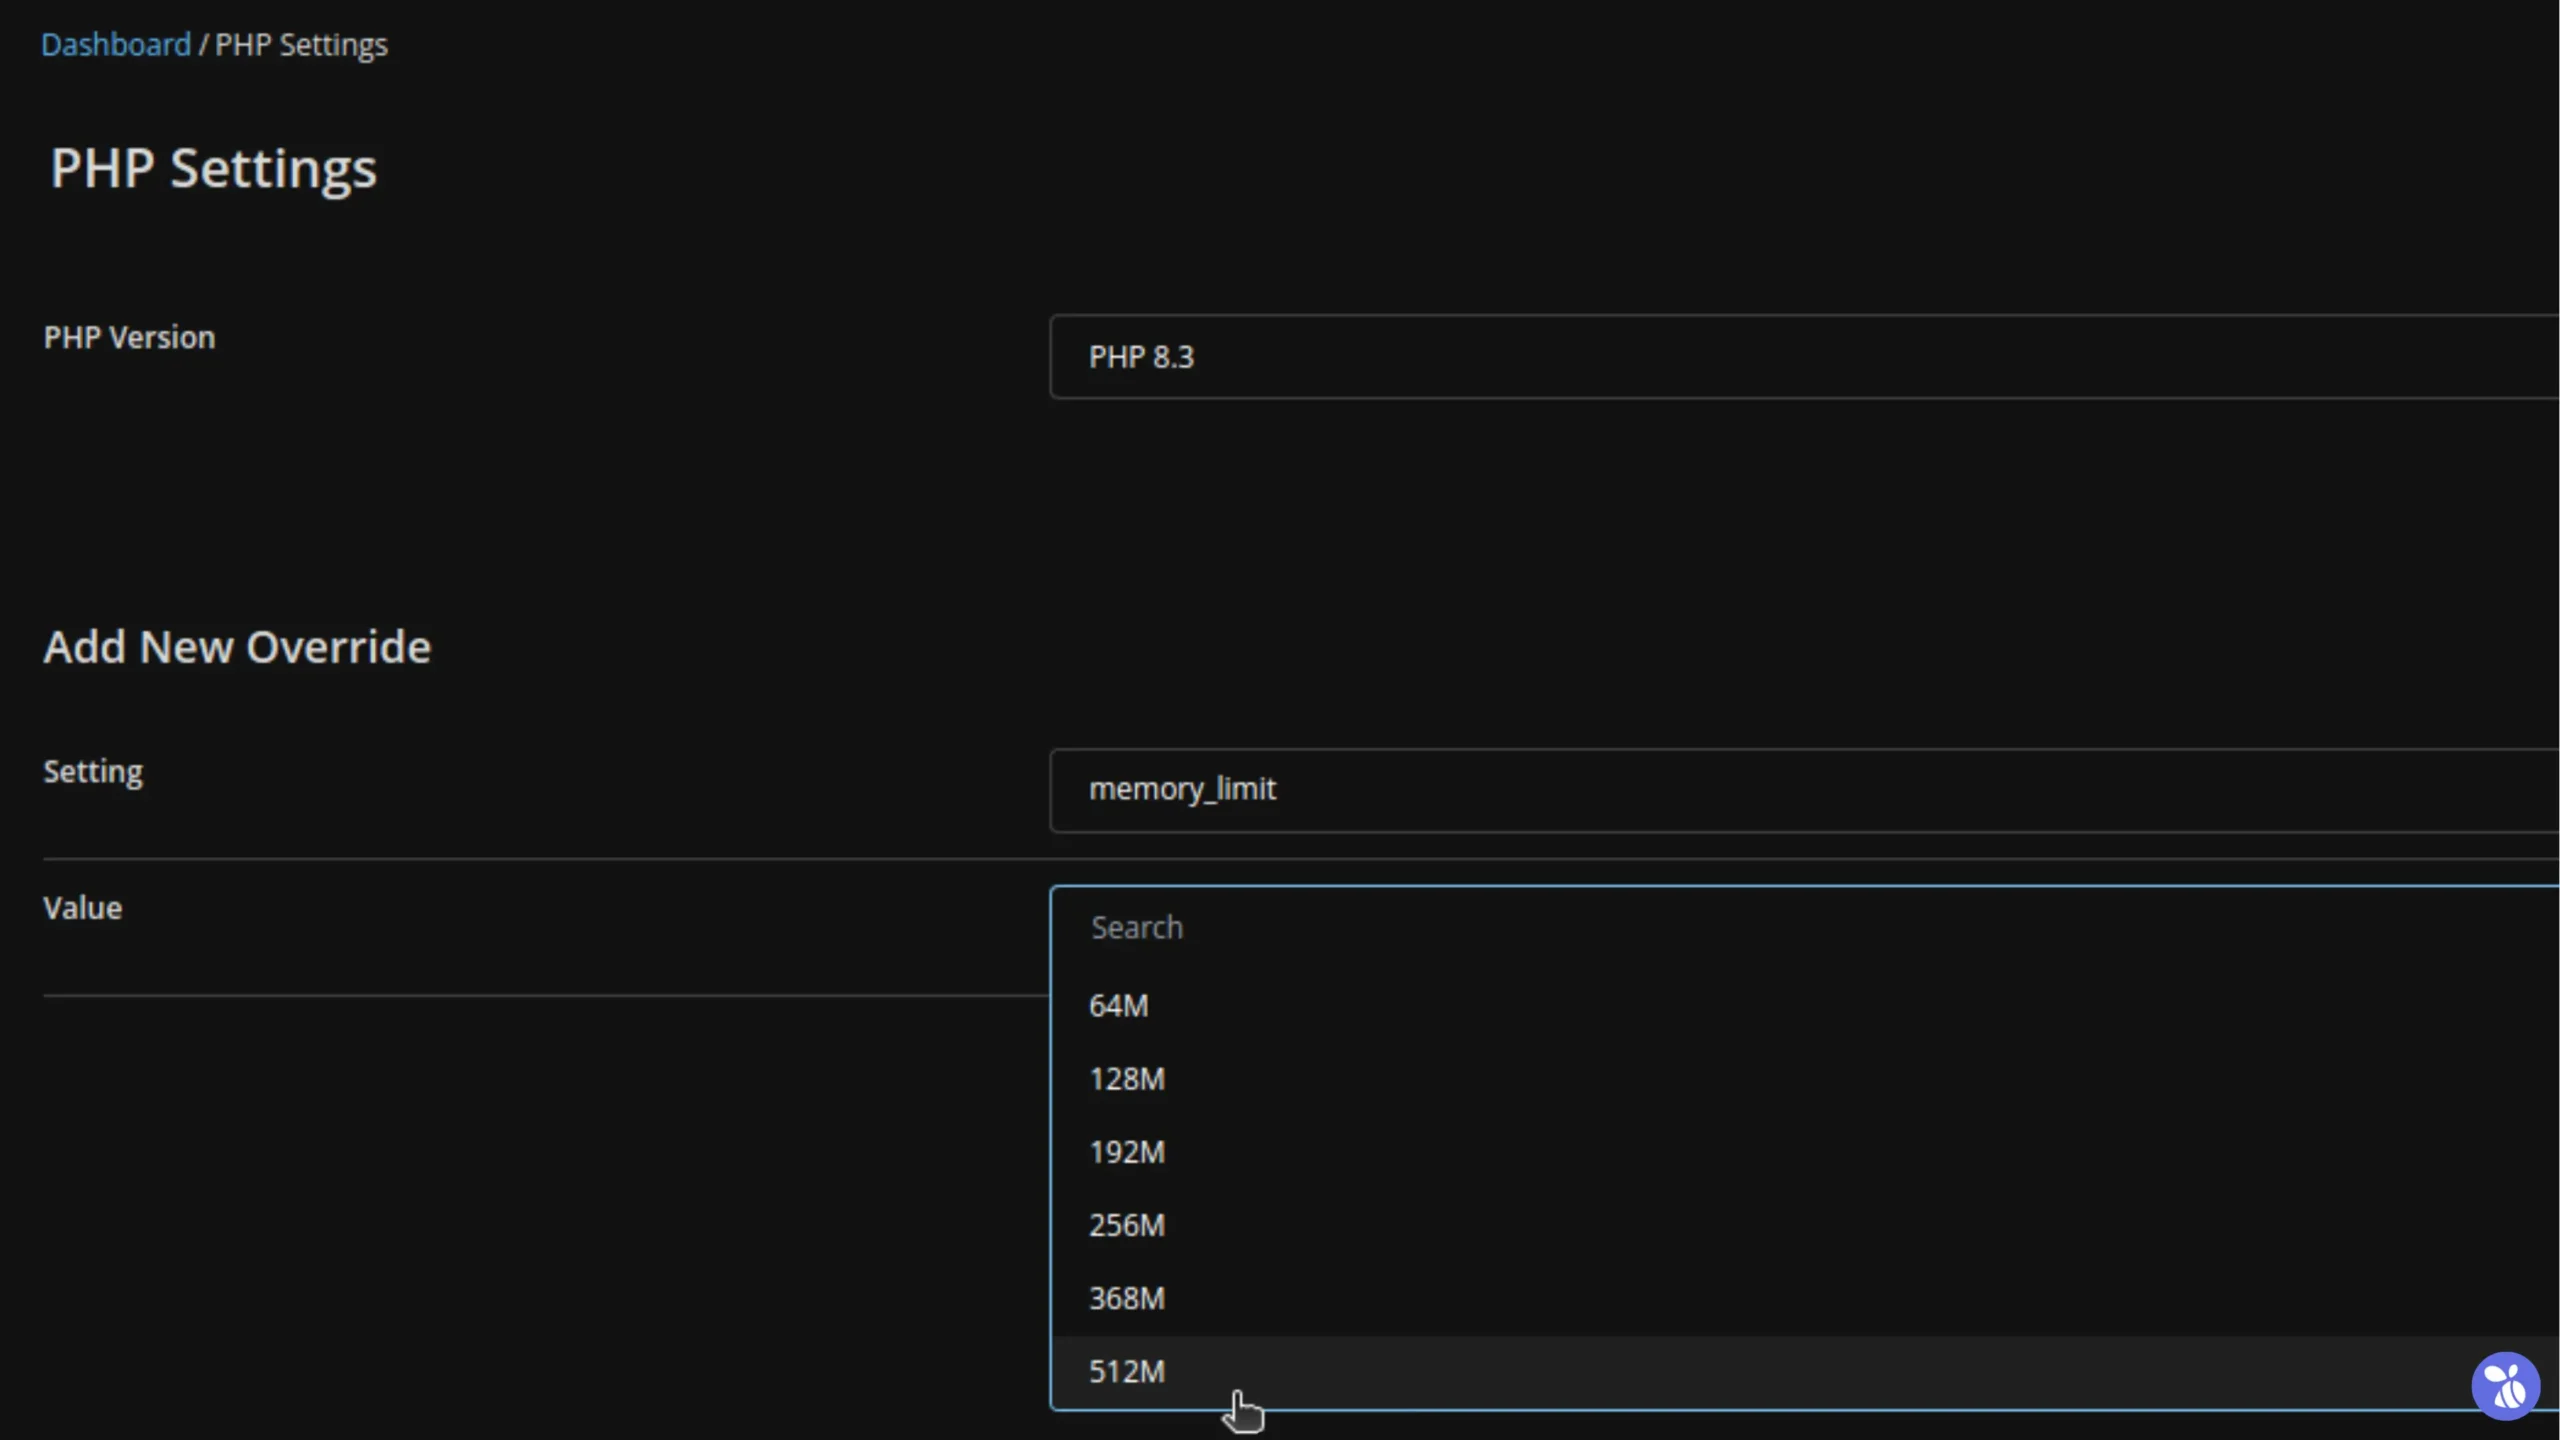
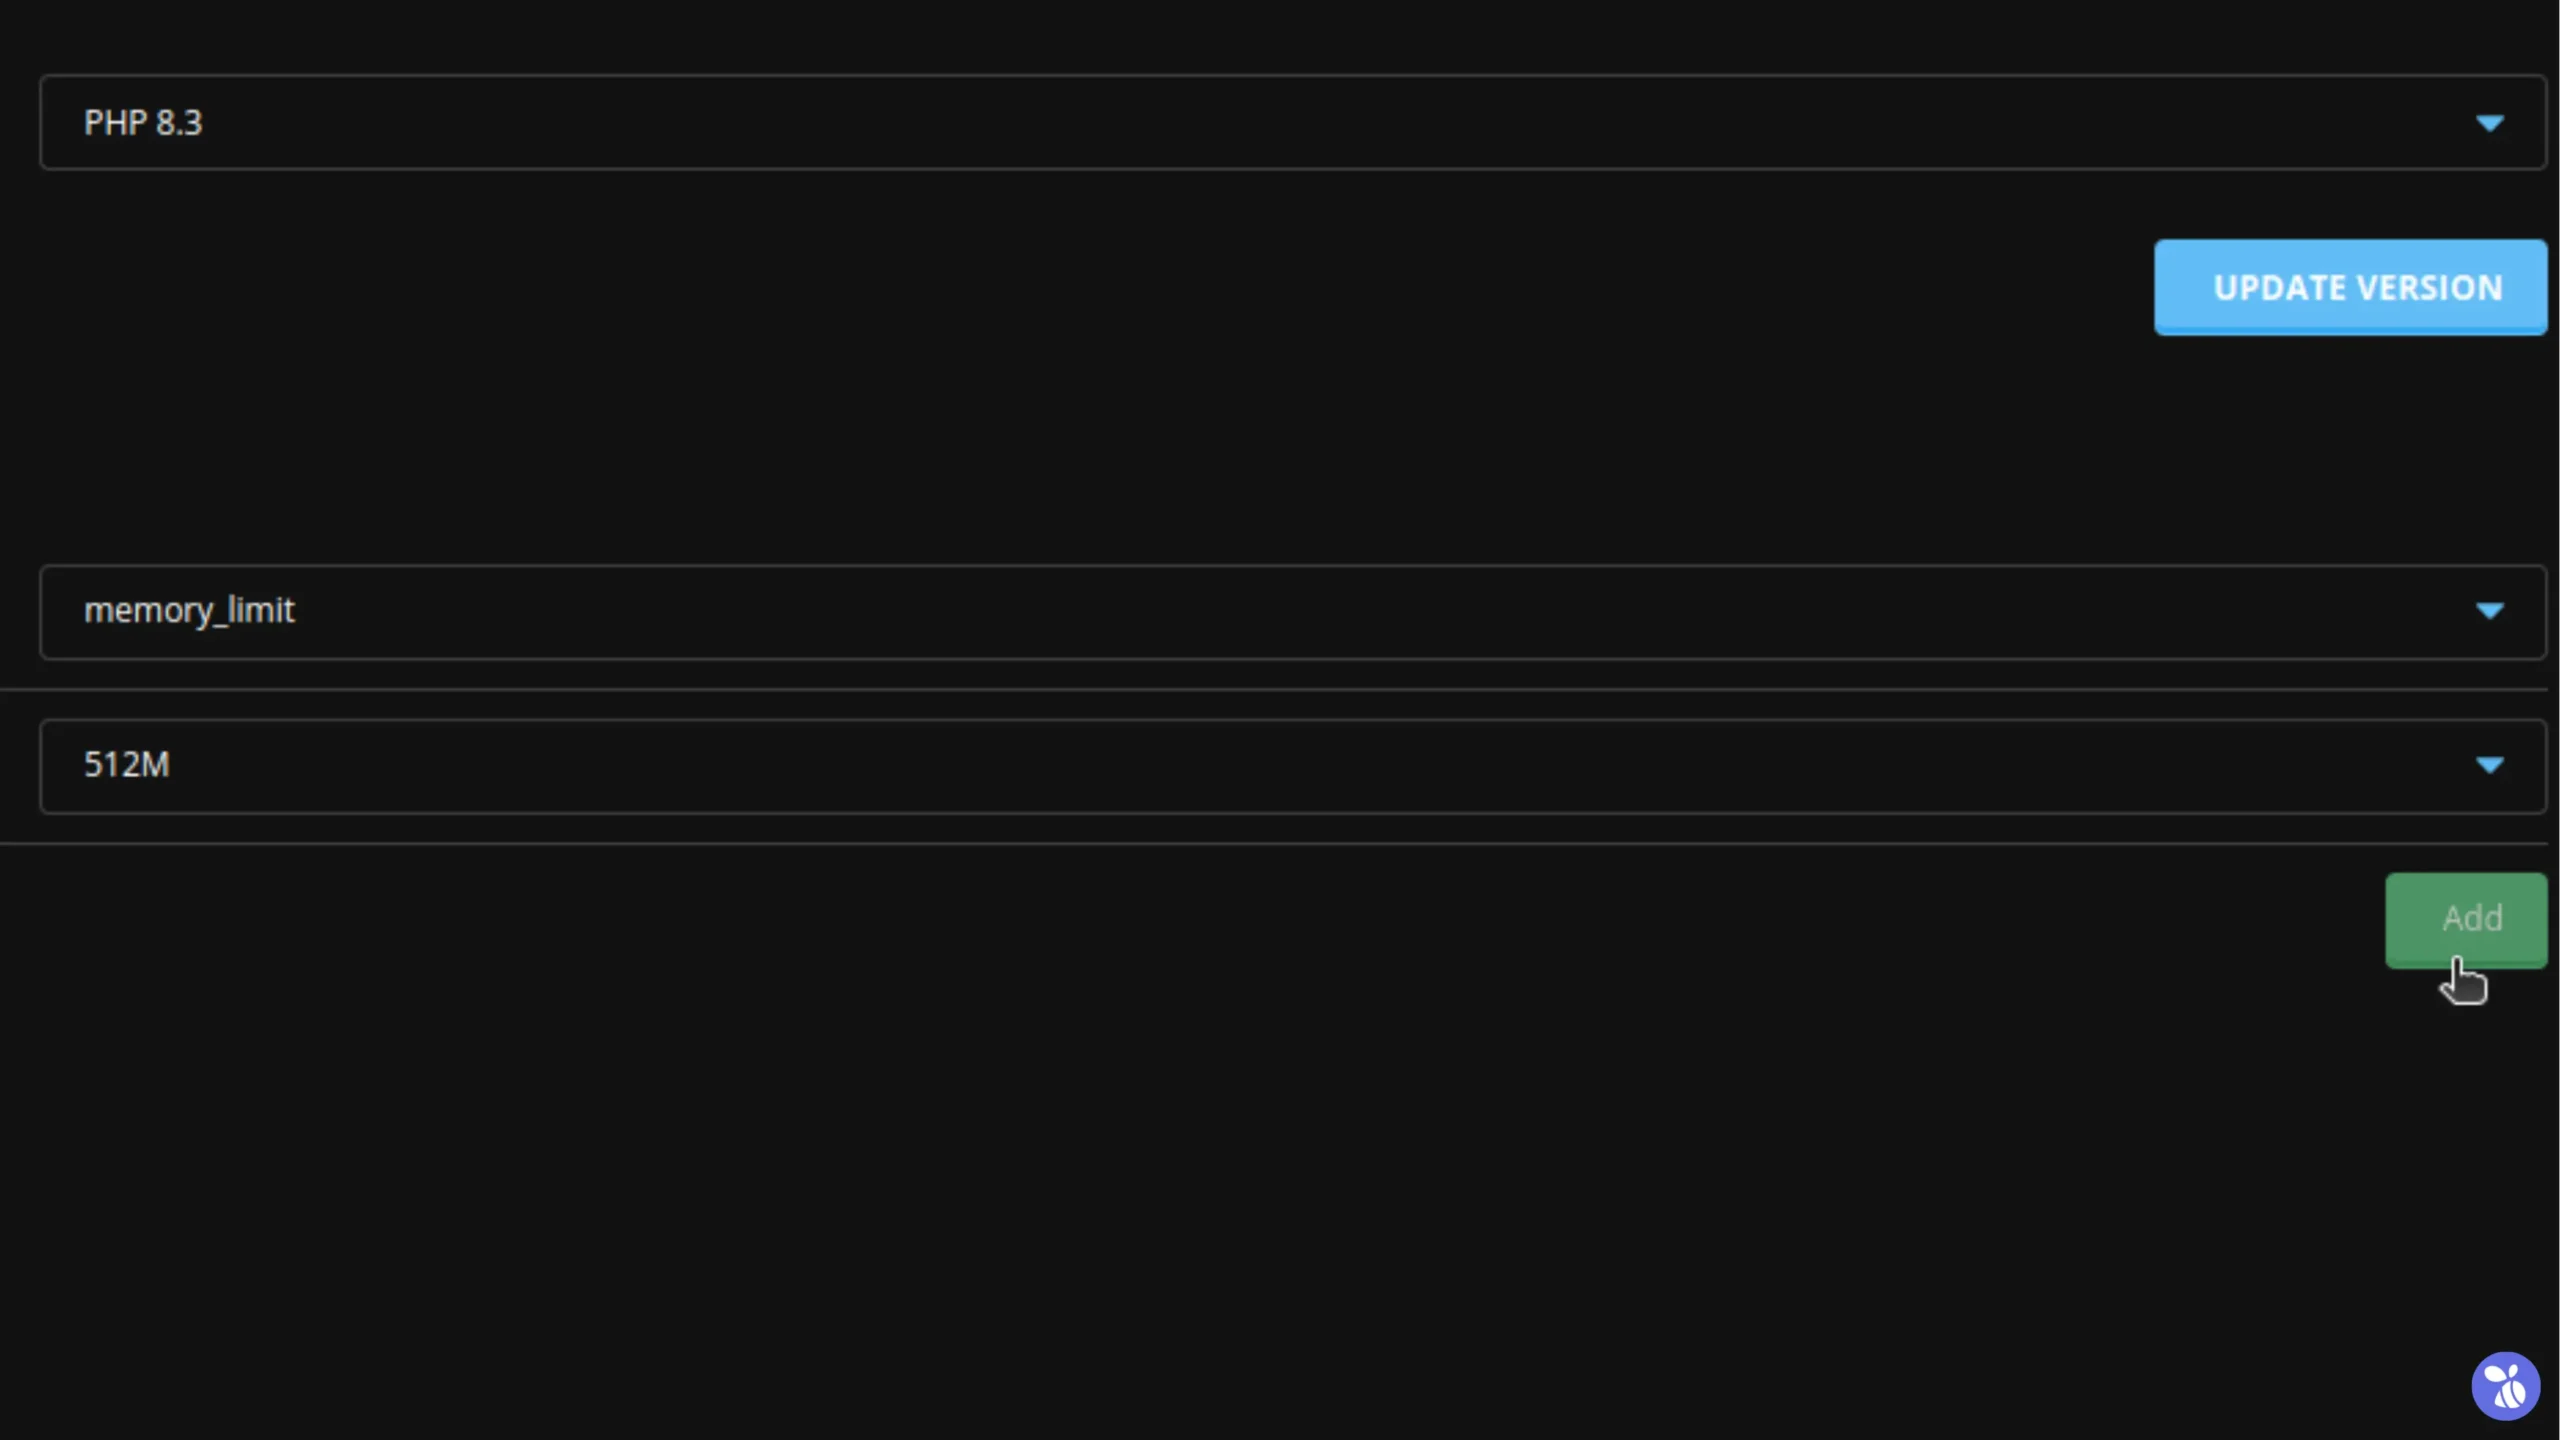
1. Increasing PHP Limits via Hosting Control Panel
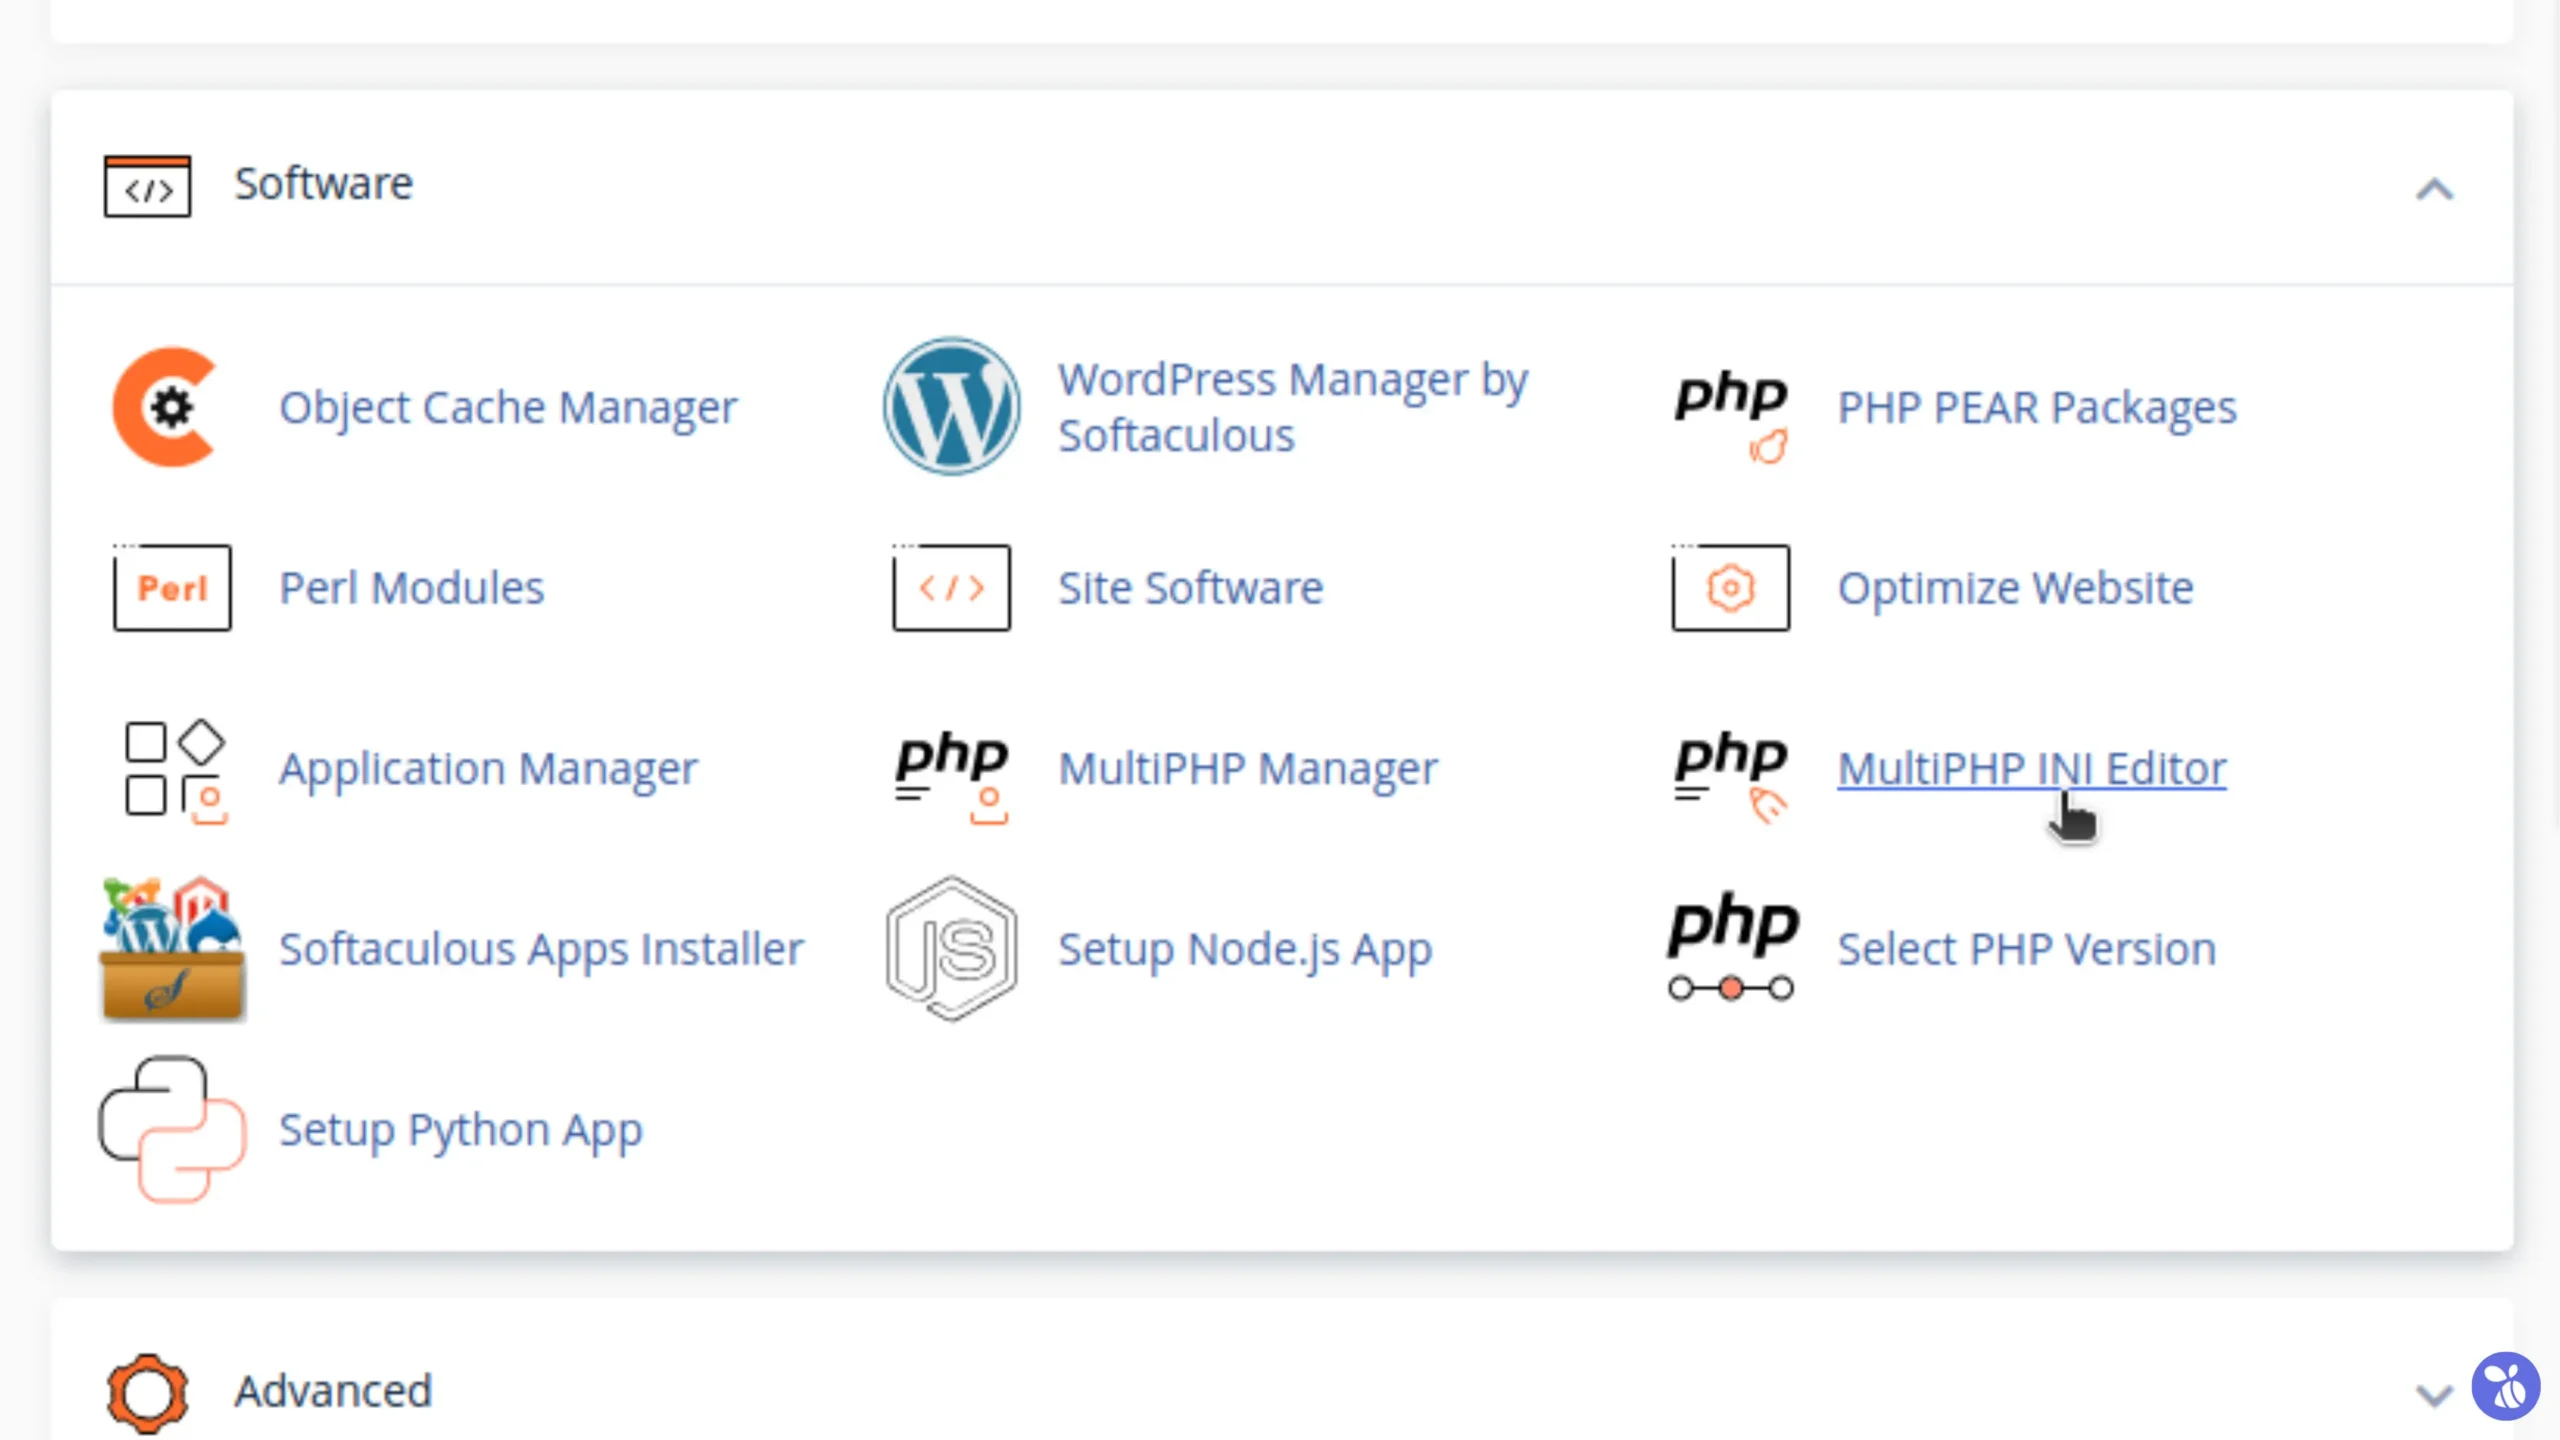
cPanel
1. Log in to your cPanel dashboard.
2. Navigate to Software and click on MultiPHP INI Editor.
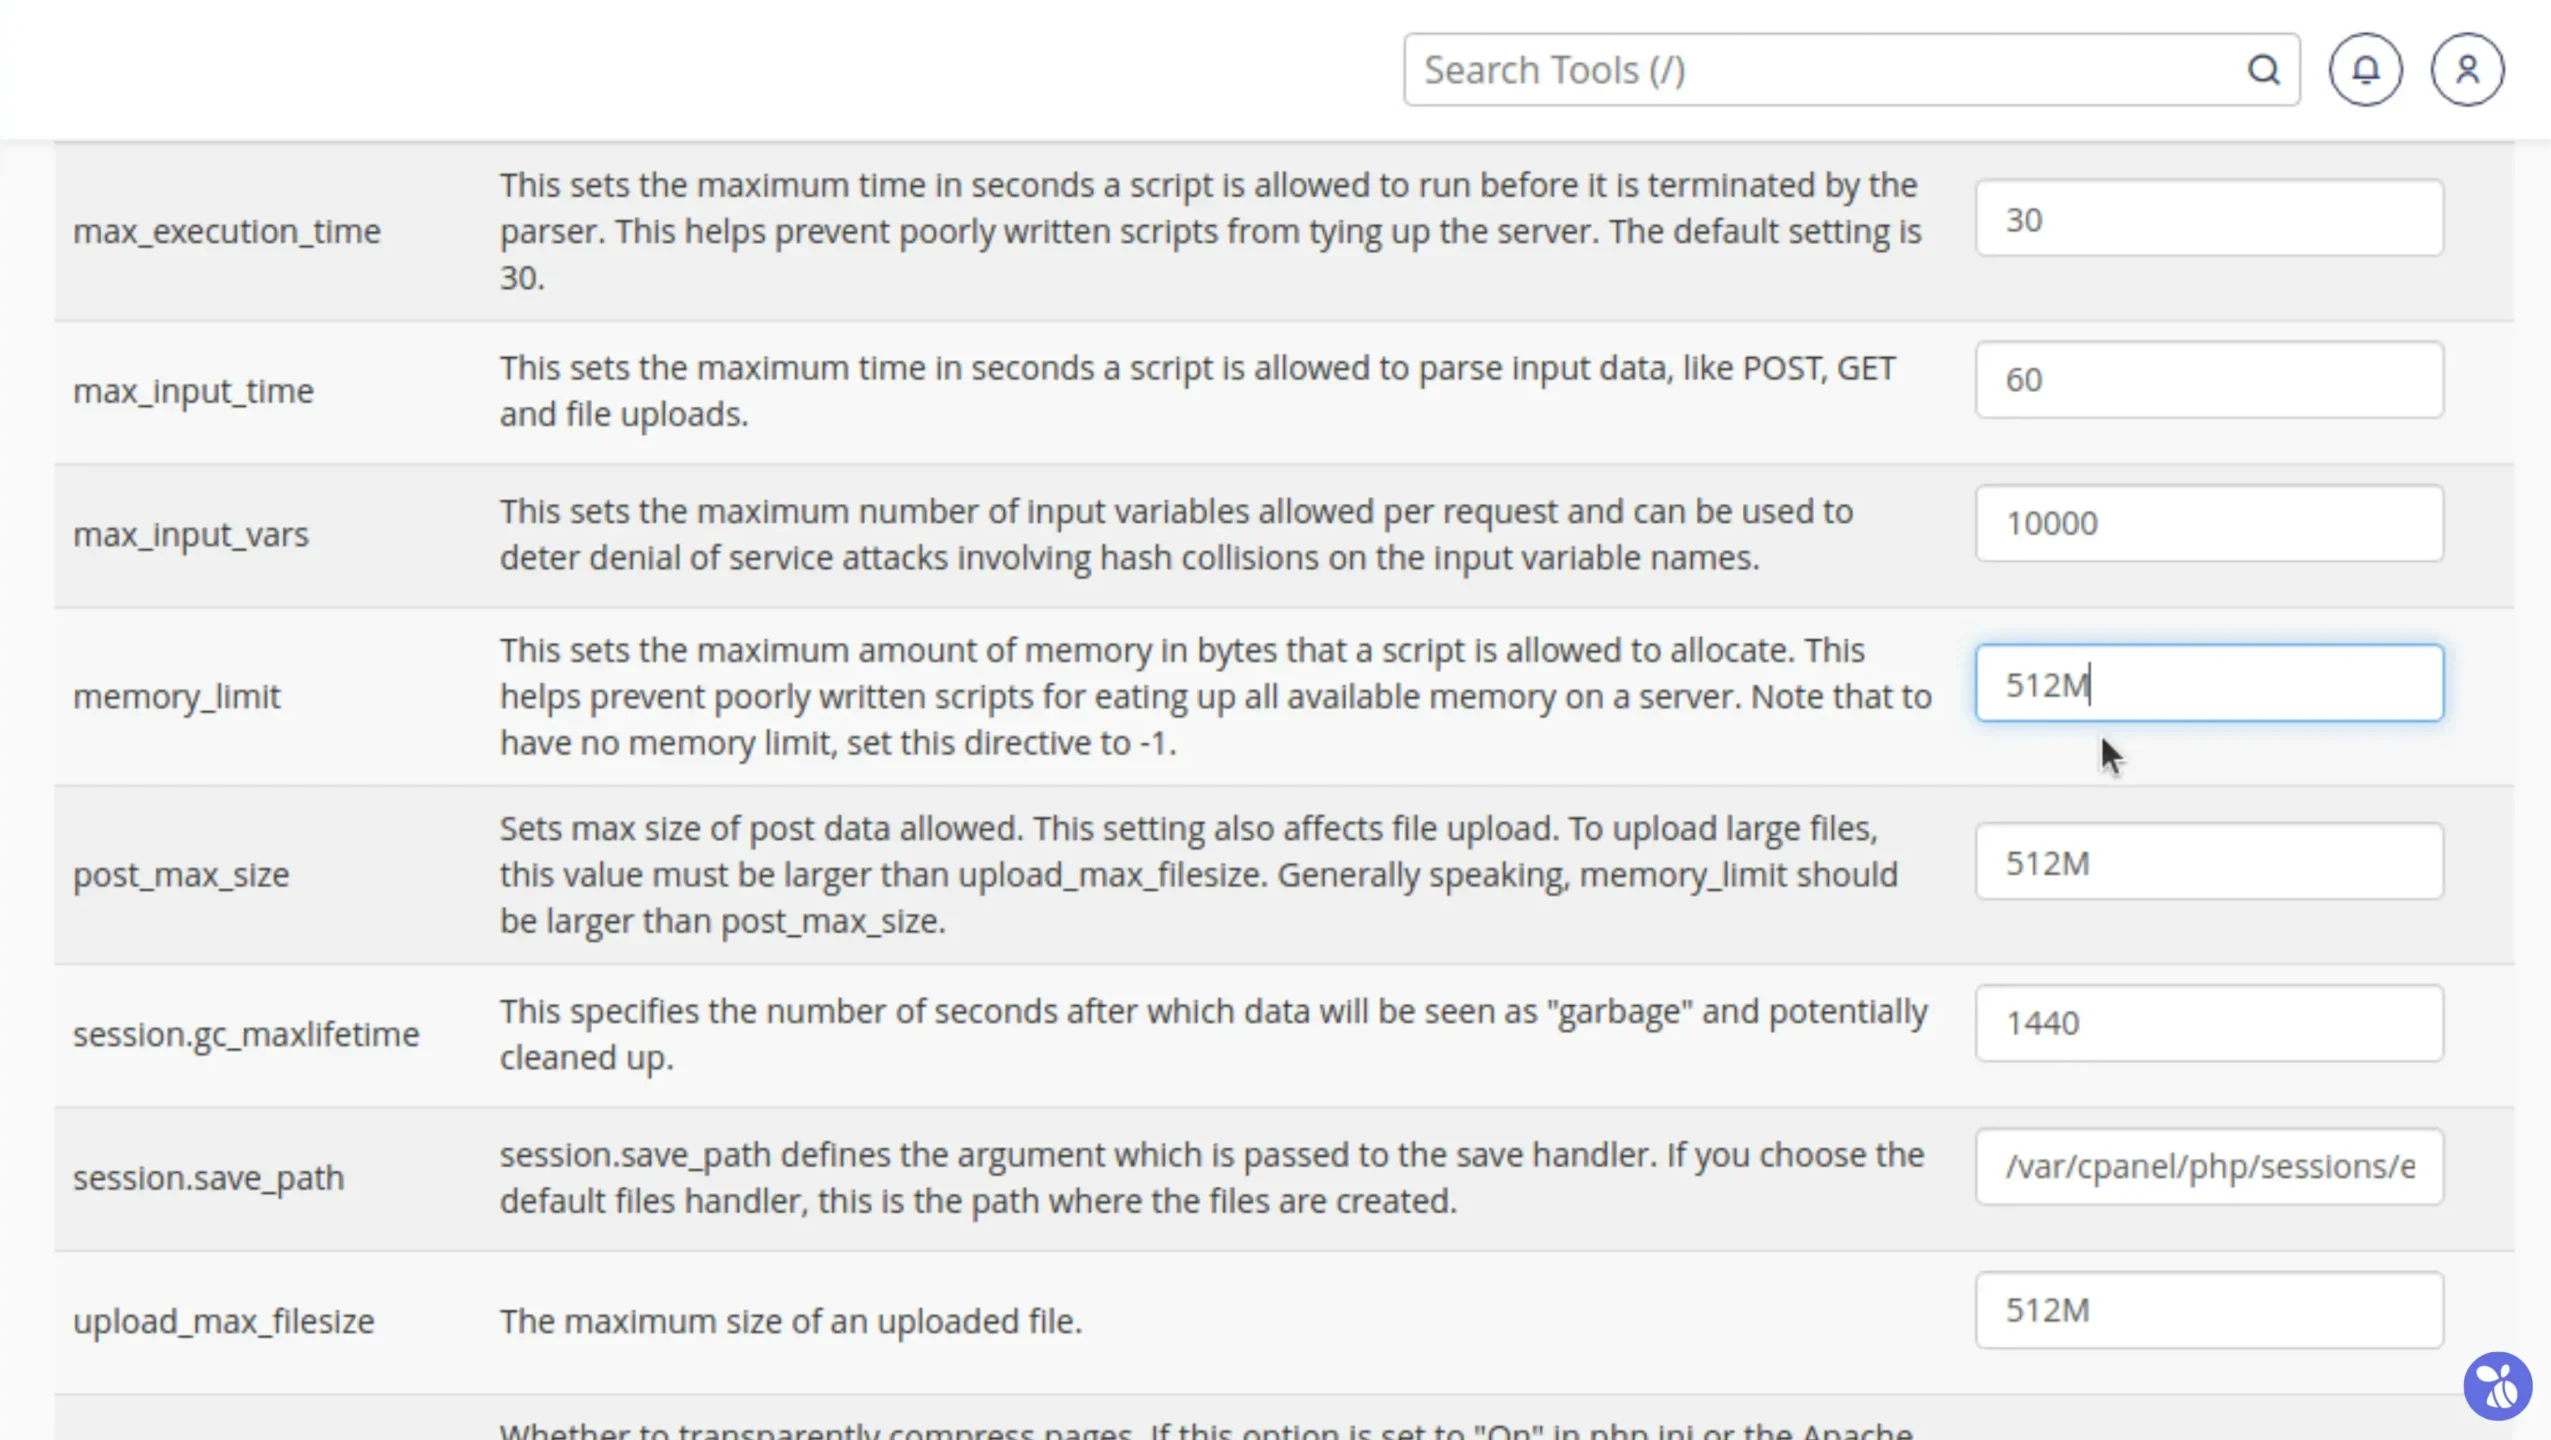
 3. Select your domain from the options menu and scroll down to adjust
 memory_limit, max_execution_time, and upload_max_filesize as per the requirement.
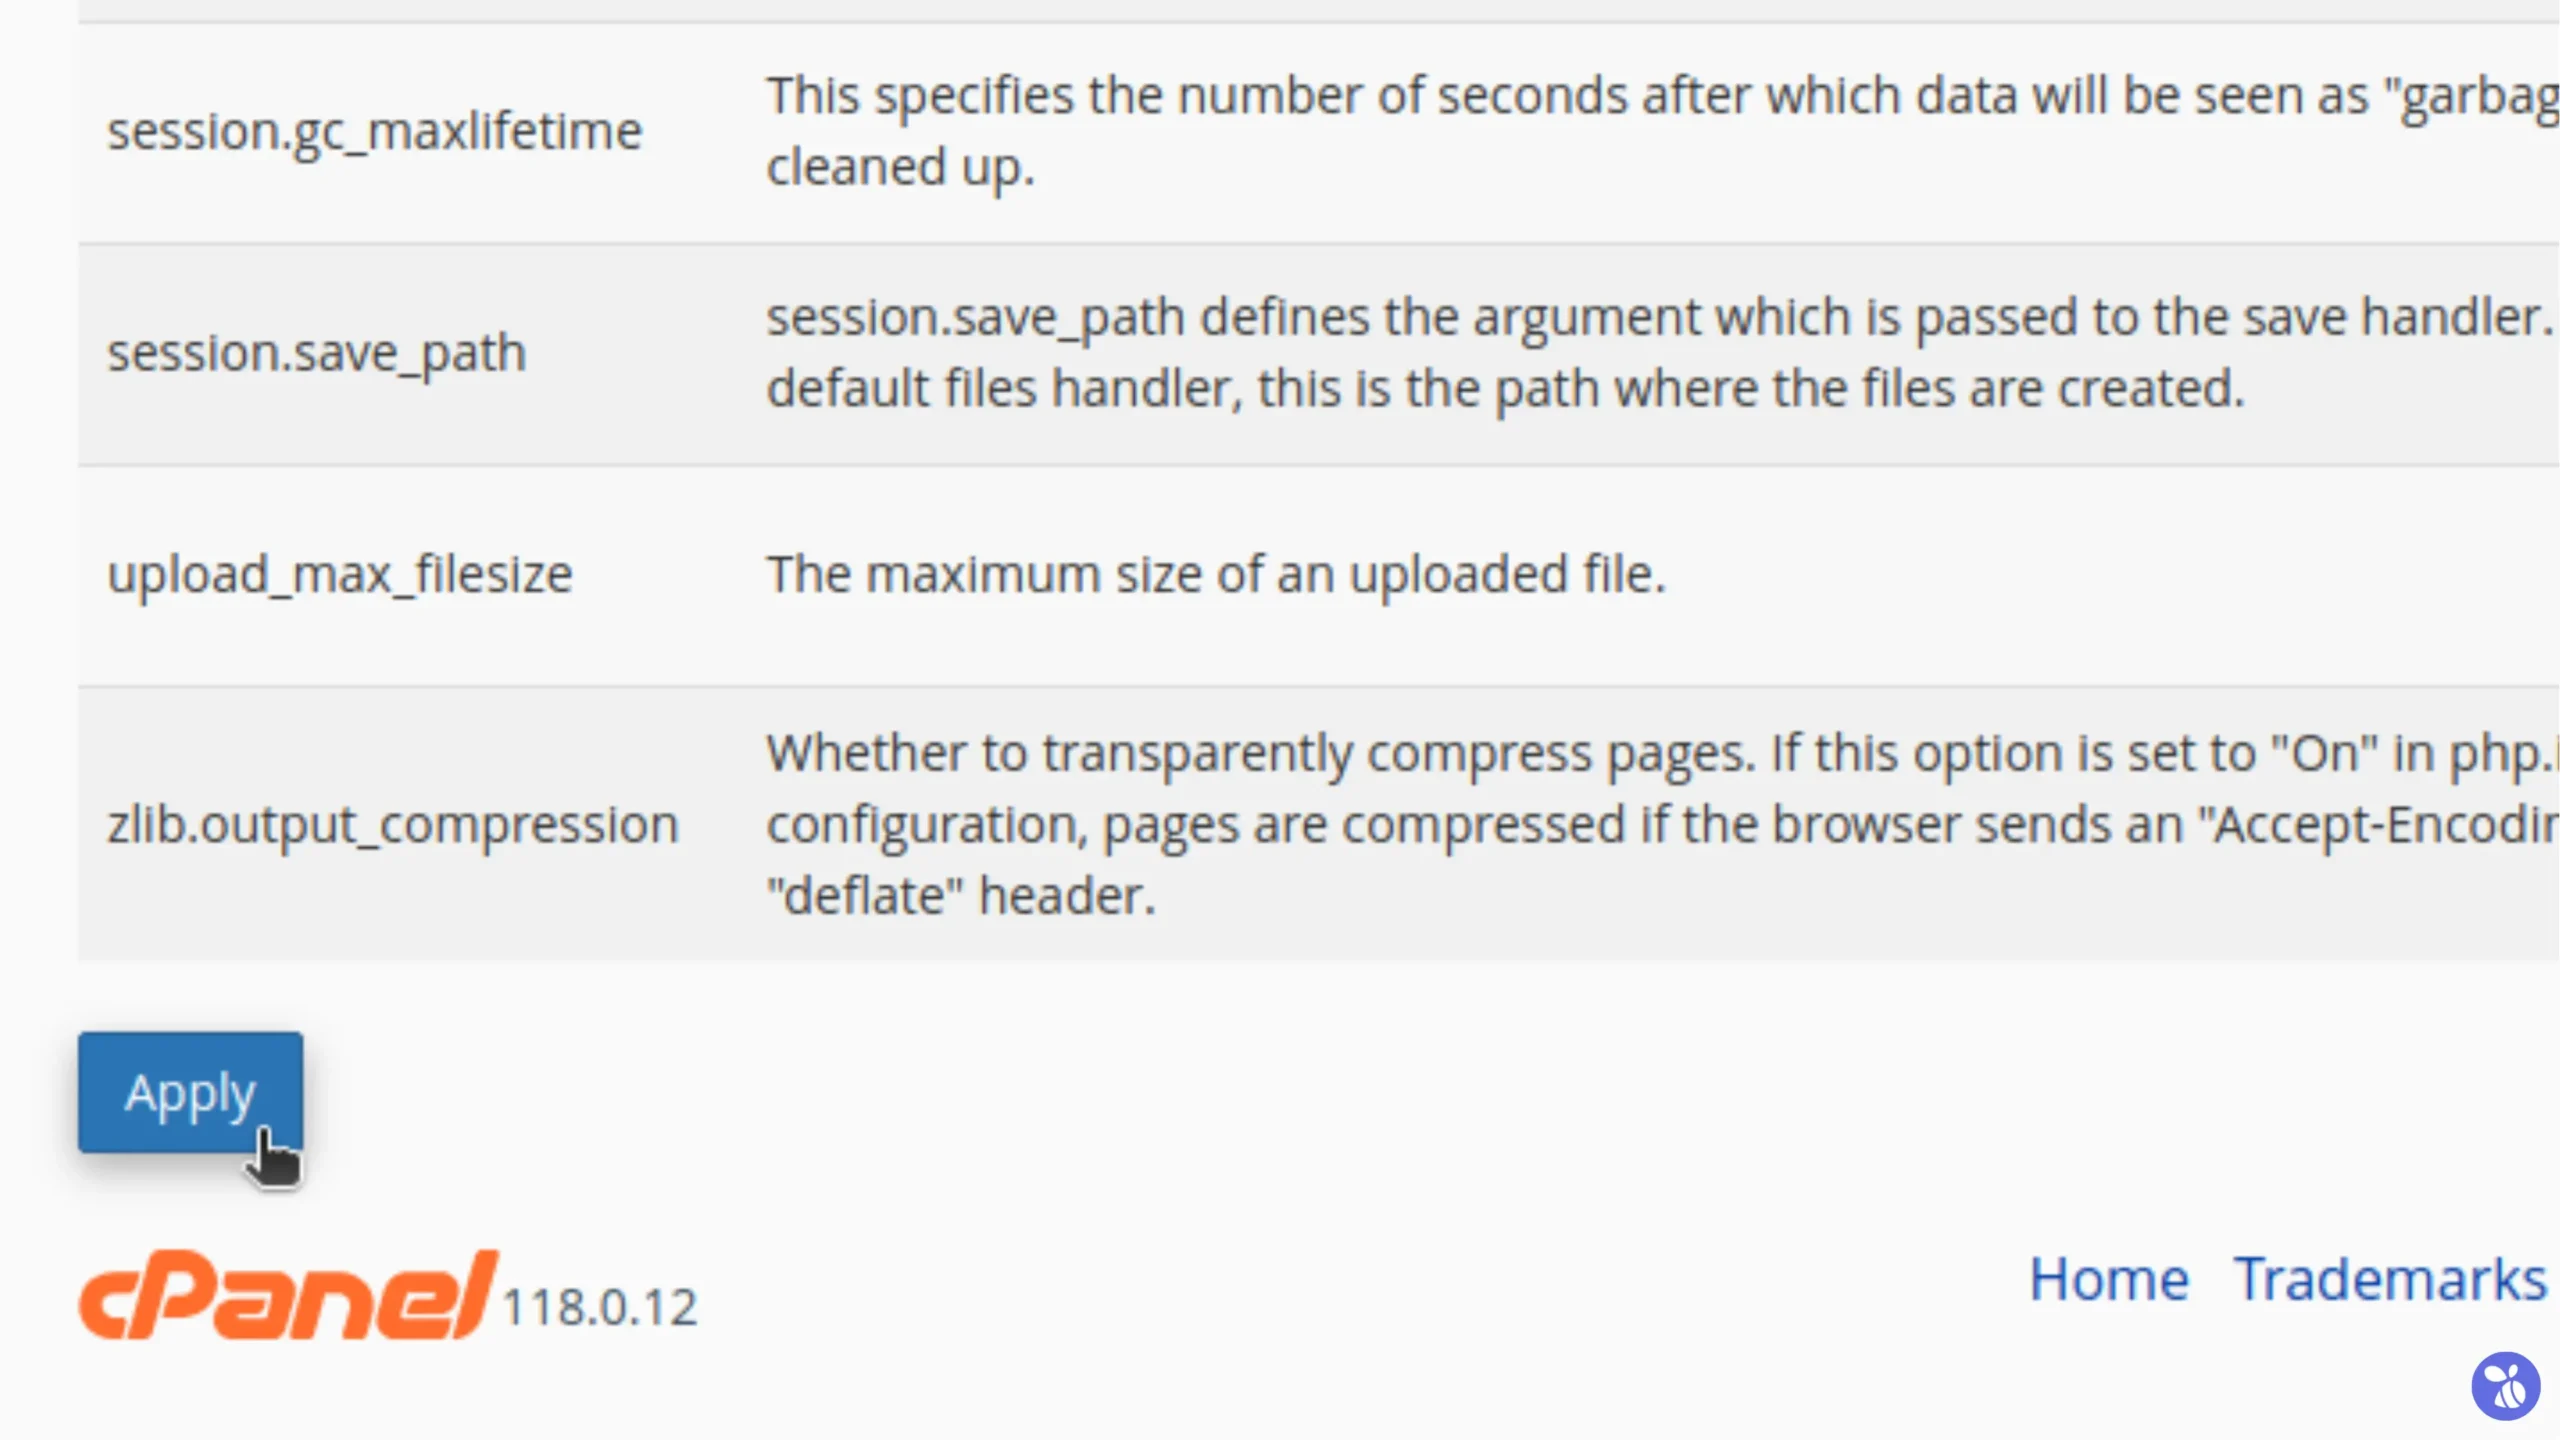
 4. Save the changes, and the new limits will be applied instantly.
DirectAdmin
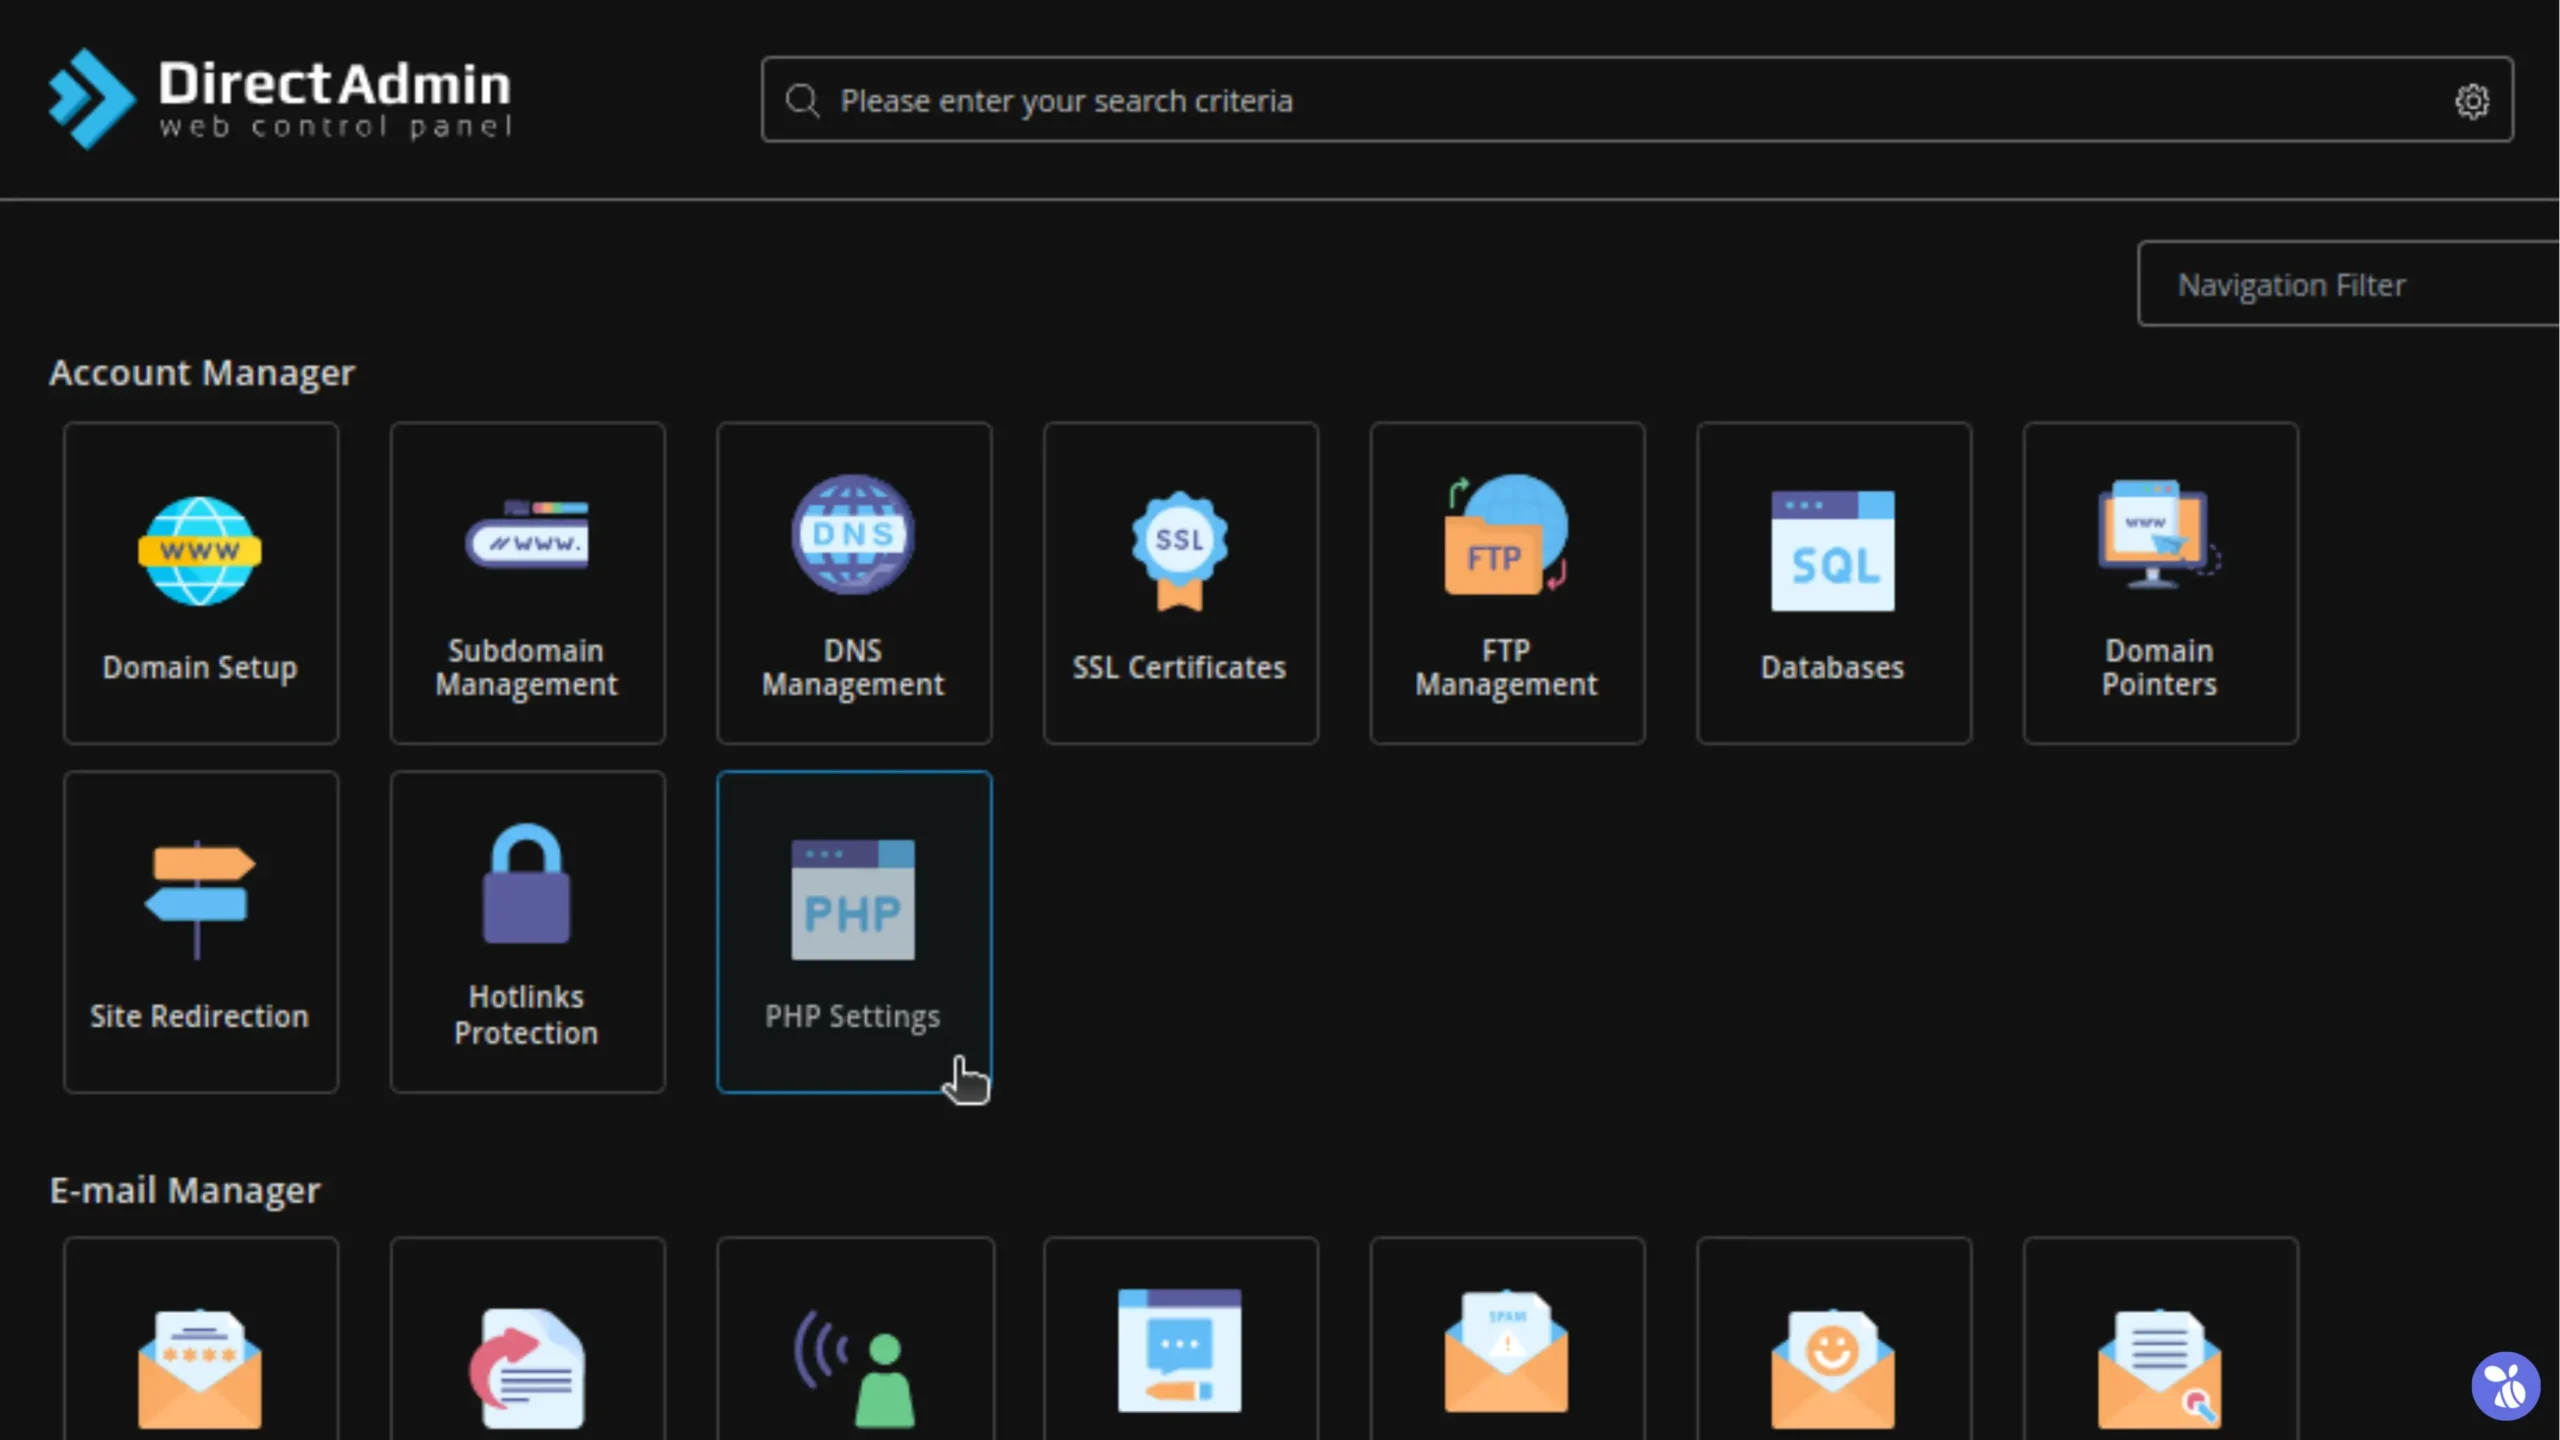
1. Log in to your DirectAdmin dashboard.
2. In the Account Manager section, click on PHP Settings.
 3. Modify PHP settings such as
 memory_limit and max_execution_time from this interface as needed.
 4. Save the changes to apply the new settings.
2. .htaccess File
The .htaccess file is a configuration file used by Apache-based web servers to manage settings for directories and their contents. It can be used to modify PHP settings for a specific directory.
Steps to Modify .htaccess:
- Access your website’s root, usually the “public_html” directory using FTP or the hosting account file manager.
- Open the “.htaccess” file in a text editor.
- Add the following lines at the end of the file to increase PHP limits:
php_value memory_limit 256M
php_value max_execution_time 300
php_value upload_max_filesize 128M
php_value post_max_size 128M
3. wp-config.php File
The wp-config.php file is a critical configuration file for WordPress, controlling various settings including database connection details and security keys. It can also be used to adjust PHP limits.
Steps to Modify wp-config.php:
- Use an FTP client or your hosting account’s file manager to navigate to the root directory, usually named “public_html”.
- Open the “wp-config.php” file in a text editor.
Increasing Memory Limit
Add the following line before the comment /* That's all, stop editing! Happy blogging. */:
define( 'WP_MEMORY_LIMIT', '256M' );
Increasing Maximum Execution Time
While wp-config.php does not directly support setting max_execution_time, you can add this configuration to your .htaccess file as mentioned above.
Increasing Maximum File Upload Size
This setting is typically handled via .htaccess, but can also be adjusted in php.ini if you have access.
Balancing Performance and Security
Resource Allocation
Setting limits too high can exhaust server resources, affecting not only your site but others on a shared server. It’s important to monitor resource usage and adjust limits based on actual needs.
Security Considerations
Allowing scripts to run for extended periods or consume large amounts of memory can open up vulnerabilities to attacks, such as denial of service (DoS). Always ensure your site is updated and secure before making these changes.
Server Performance
Higher limits can improve user experience by reducing timeouts and errors but may lead to slower server response times if resources are overcommitted.
Increasing PHP limits through .htaccess and wp-config.php files is a powerful way to enhance the performance and capabilities of your WordPress site. However, it requires careful consideration of server compatibility, resource allocation, and security implications. Always back up your site before making changes and test thoroughly to ensure the adjustments meet your needs without introducing new issues.