Subdomains can be very useful for website owners who want to create separate sections of their website or establish distinct web presences under their main domain. They can help make your website structure cleaner and improve user experience. If you’re interested in creating a subdomain, this guide provides step-by-step instructions for two popular web hosting control panels: cPanel and DirectAdmin.
What is a Subdomain?
Before we dive into creating one, let’s clarify what a subdomain is. Essentially, a subdomain is an extension of your domain name that appears before the main domain.
For example, if your main domain is “example.com,” a subdomain could be “blog.example.com” or “shop.example.com“. Subdomains are typically used to separate different sections or functionalities of a website.
Creating a Subdomain in cPanel:
cPanel is one of the most widely used web hosting control panels, known for its user-friendly interface and robust features. If you’re using cPanel, creating a subdomain is a straightforward process.
- Enter your cPanel login credentials to access your hosting account.
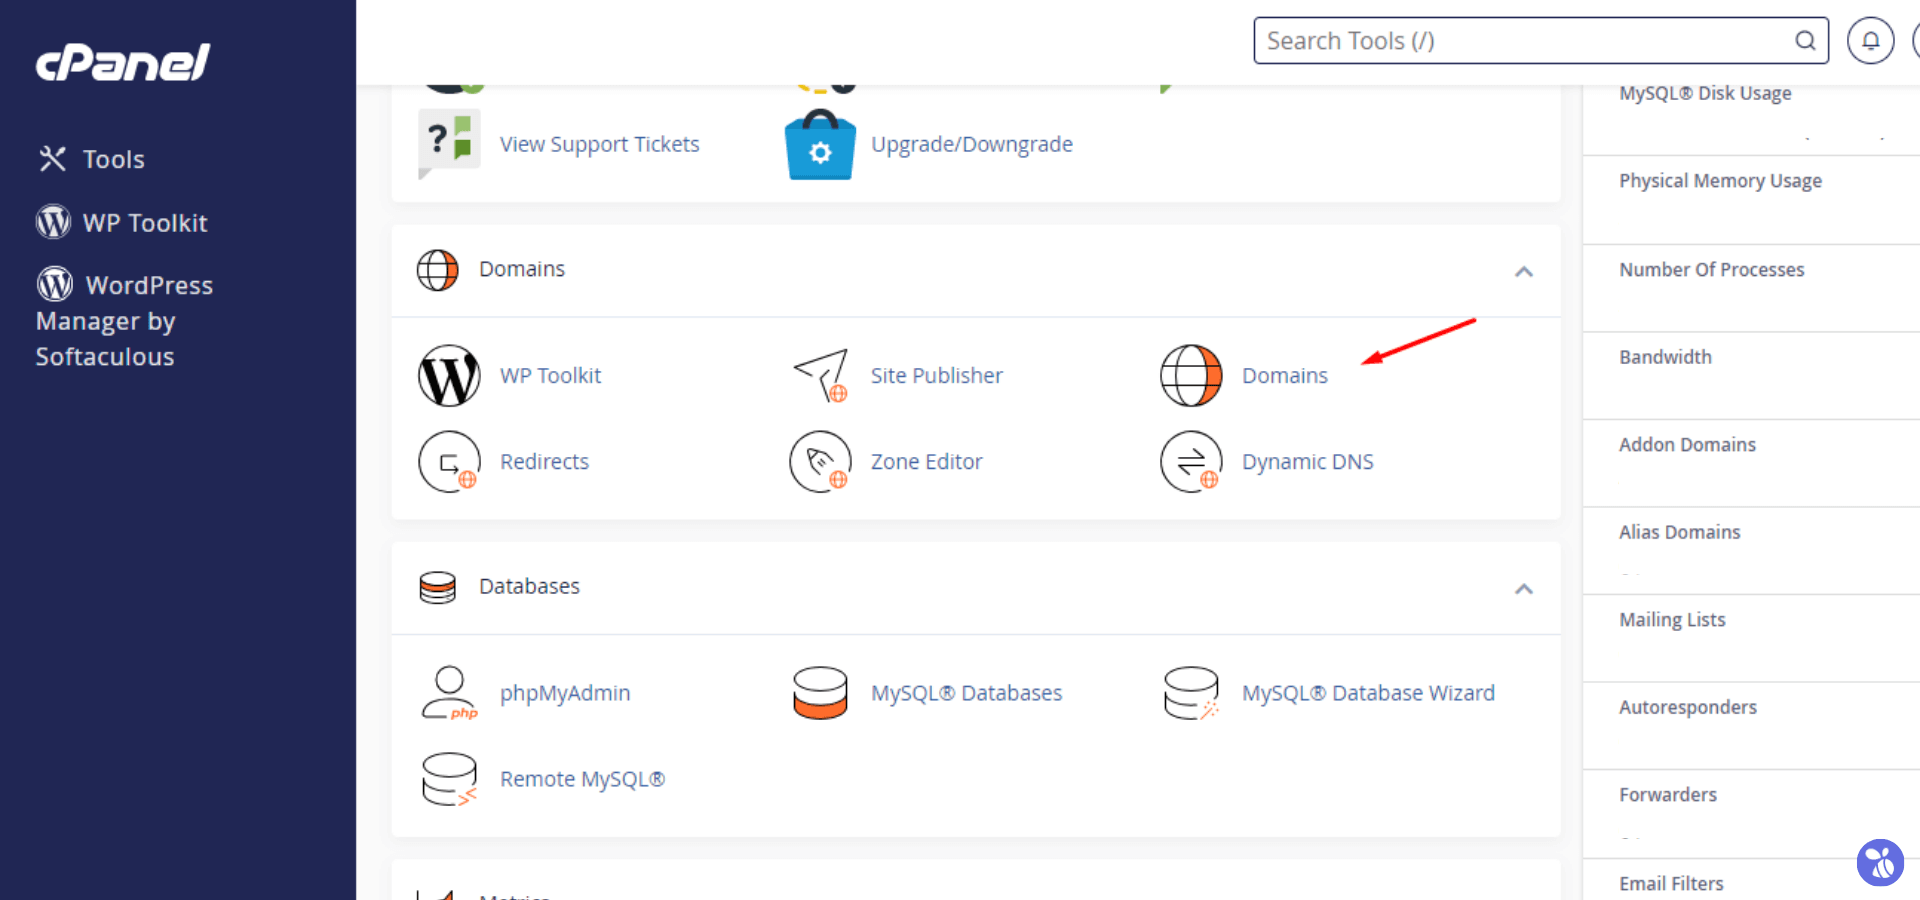
- In the cPanel dashboard, navigate to the “Domains” section and click on the “Domains“.
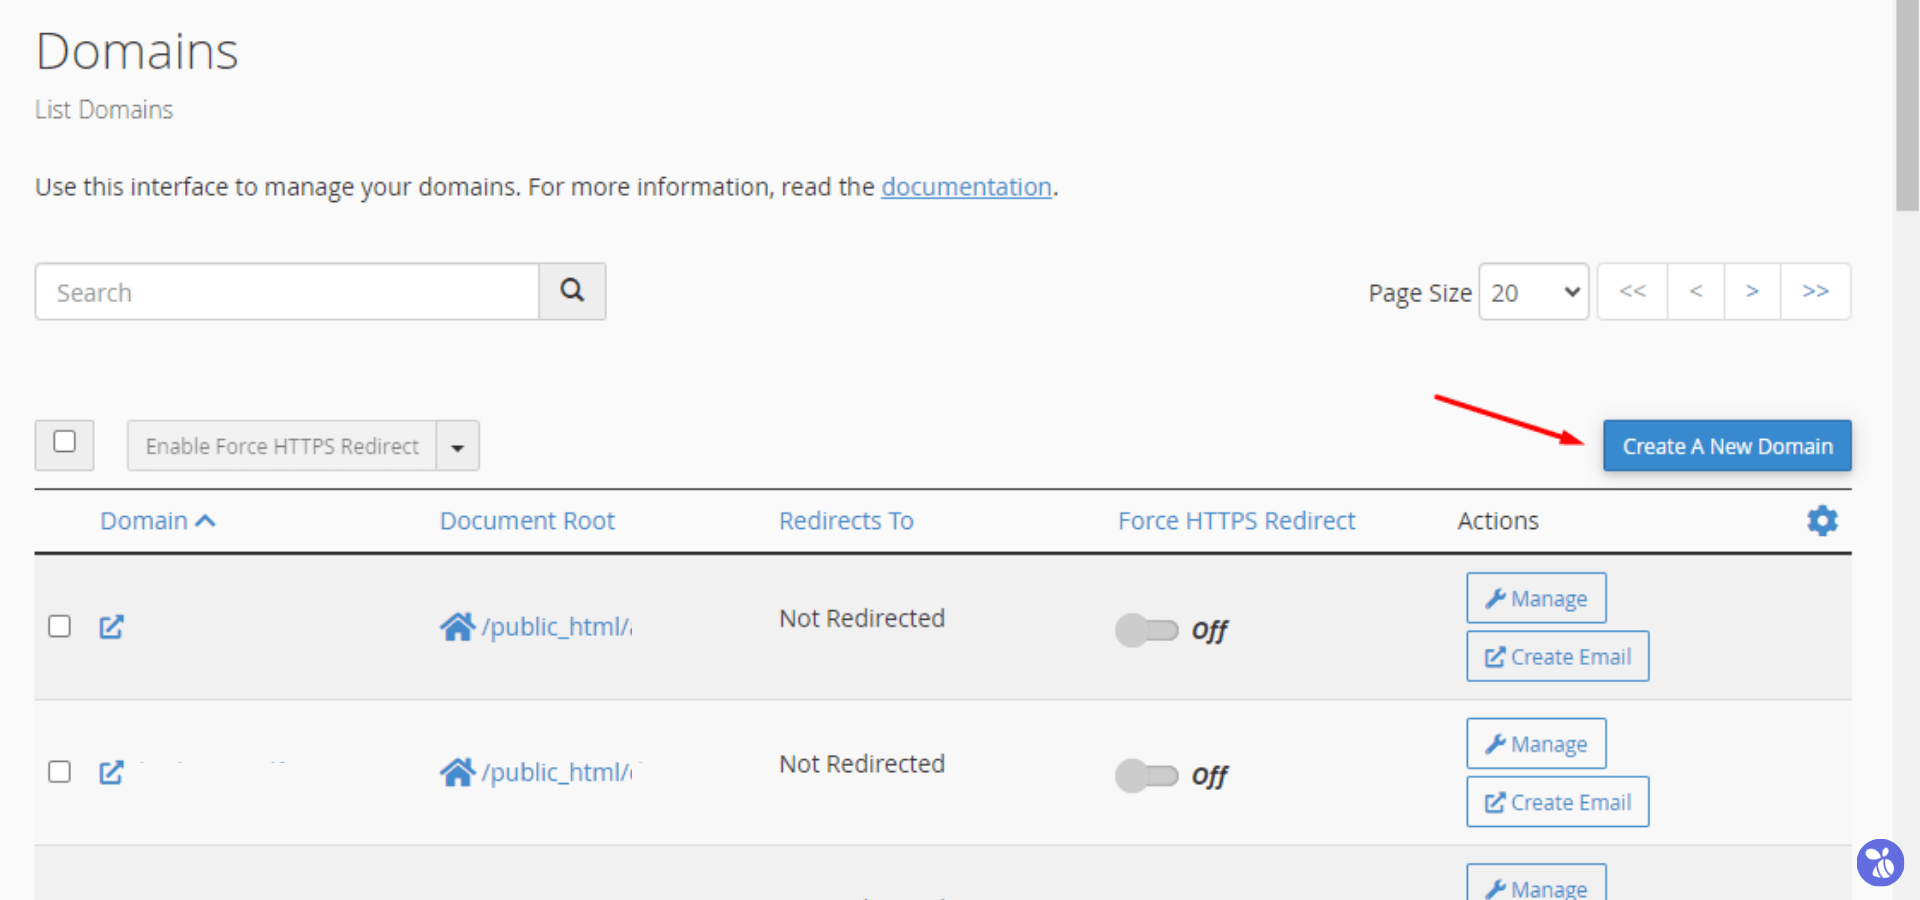
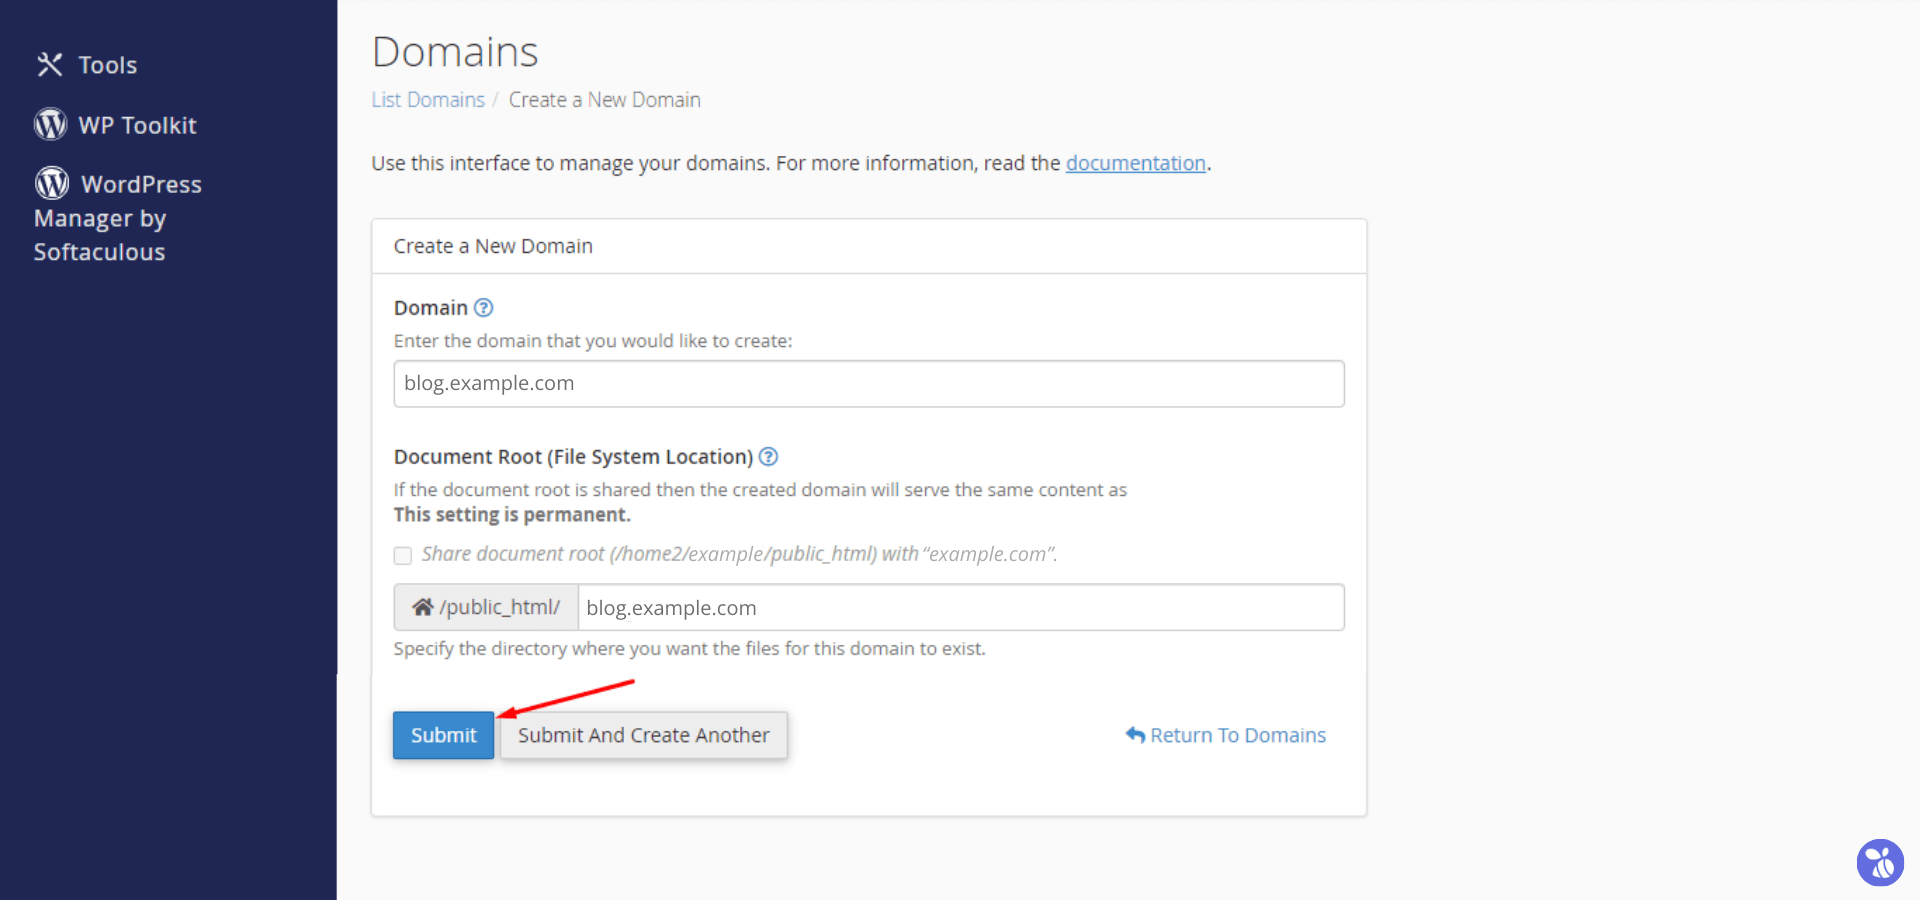
- In the Domains interface, click on the “Create A New Domain” button.
- In the “domain” field, enter the desired subdomain name (e.g., “blog.example.com”) and De-select/Uncheck the “Share document root (/home/username/public_html) with “domain.tld”.” option.
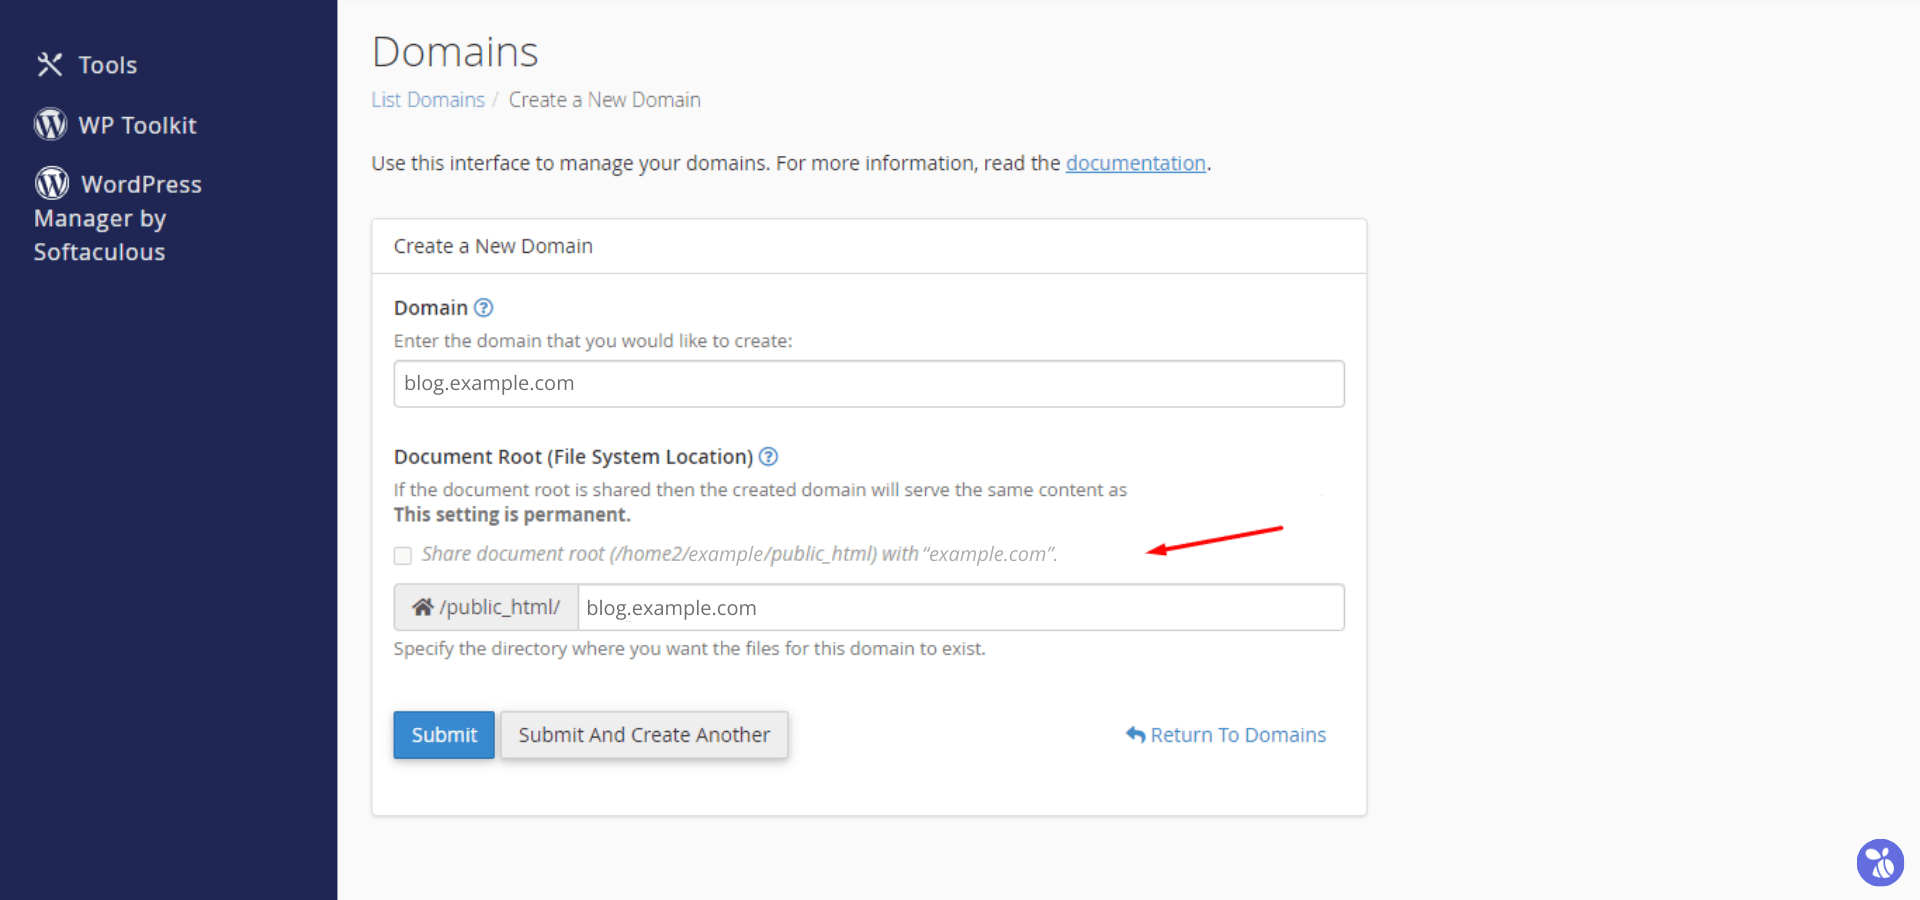
- Click on the “Submit” button to finalize the creation of your subdomain.
And that’s it! You’ve successfully created a subdomain in cPanel.
Creating a Subdomain in DirectAdmin:
DirectAdmin is another popular web hosting control panel known for its simplicity and efficiency. For those using DirectAdmin, creating a subdomain is just as easy.
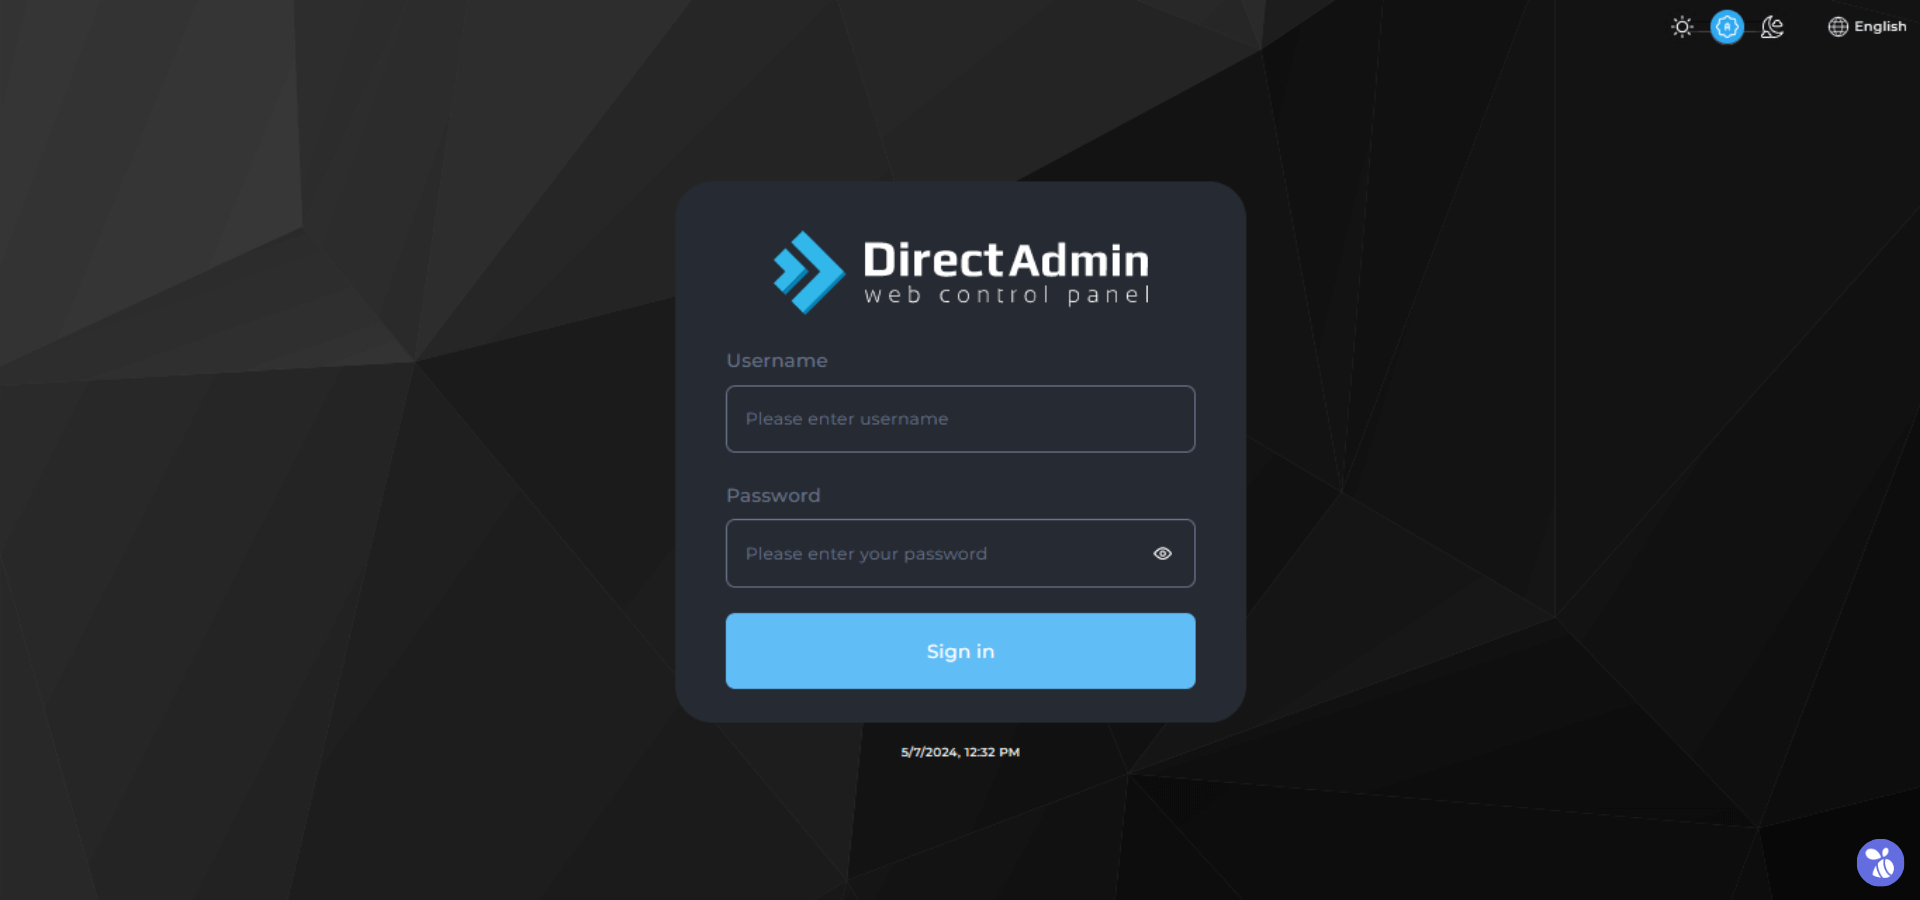
1. Enter your DirectAdmin login credentials to access your hosting account.
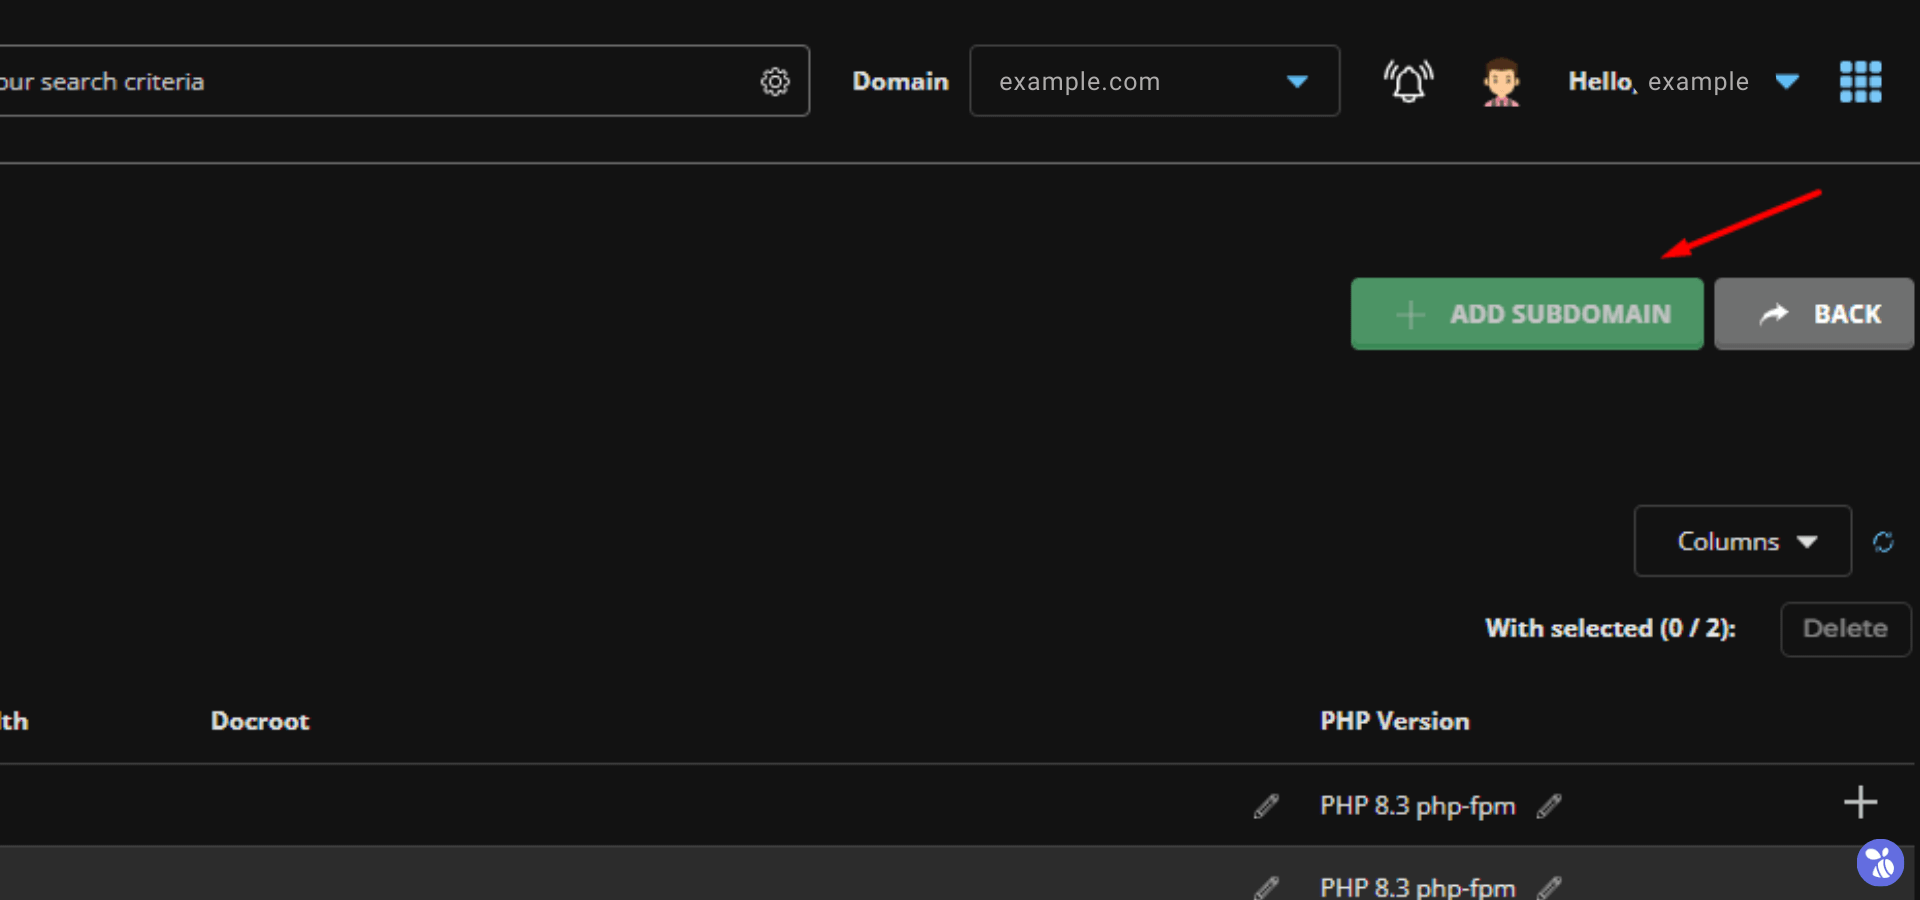
- In the DirectAdmin dashboard, locate and click on the “Subdomain Management” option under the “Account Manager” section.

- Once there, Click on the “Add Subdomain” button.
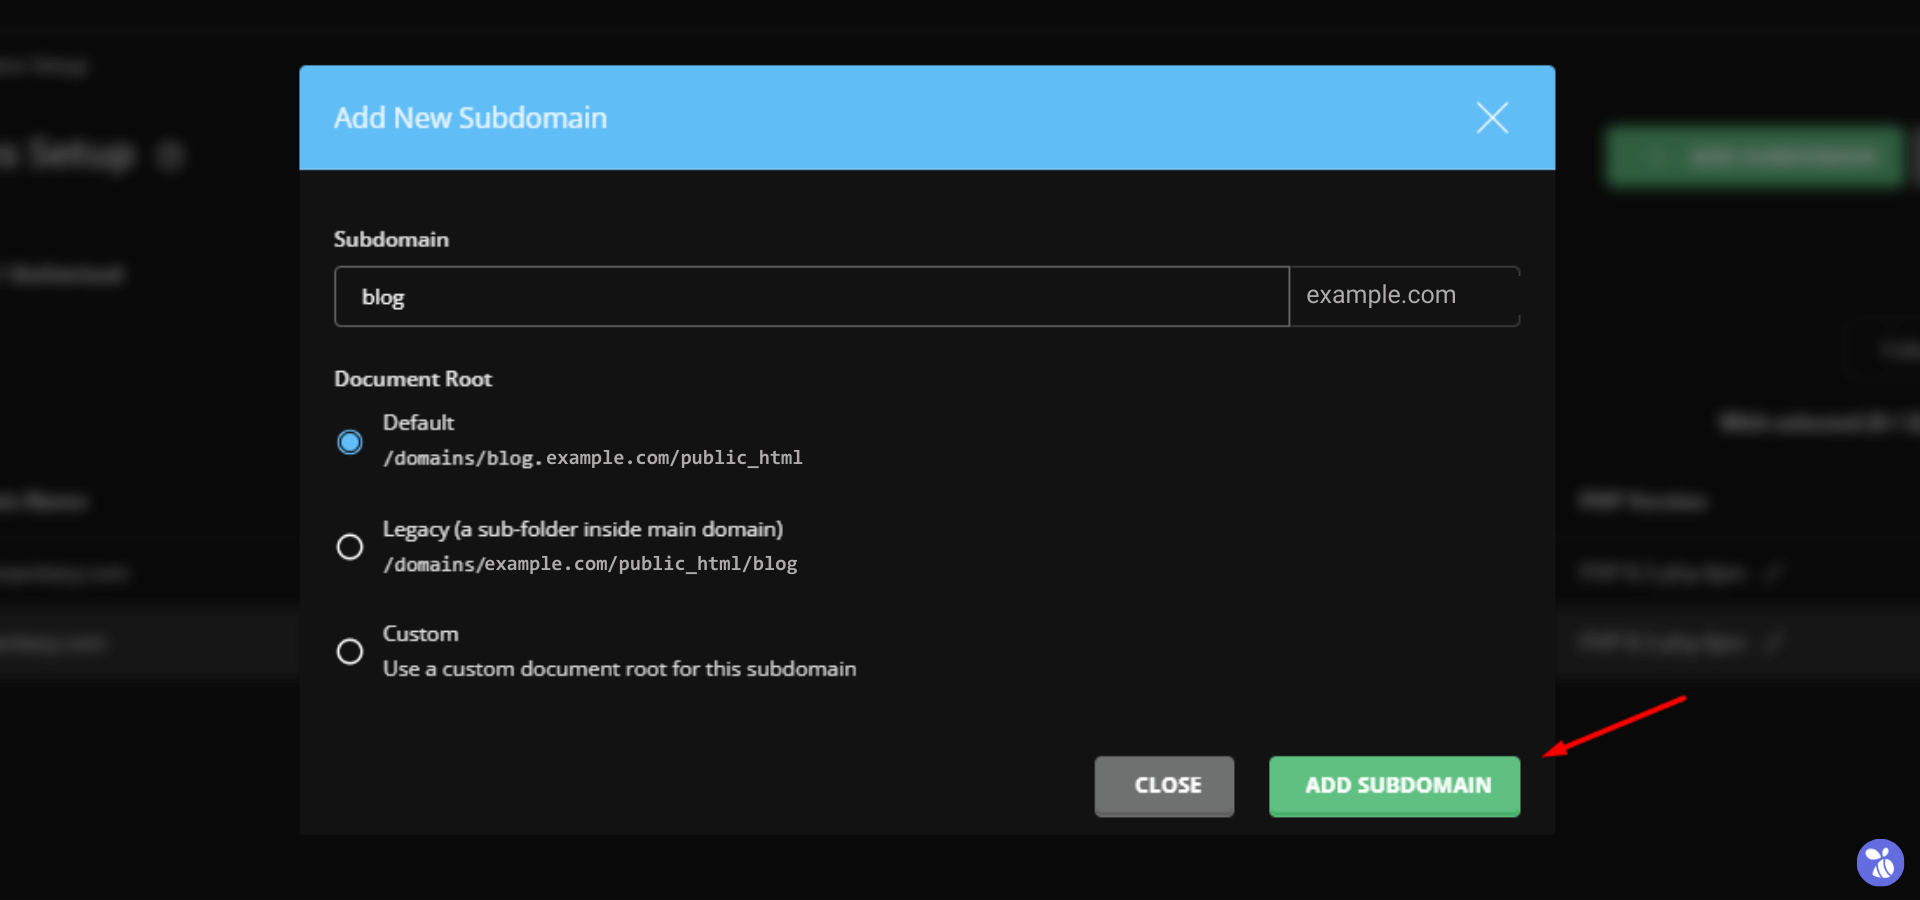
- In the “Subdomain” field, enter the desired subdomain name without the main domain part (e.g., “blog” for “blog.example.com”) and click on the “Add Subdomain” button to finalize the creation of your subdomain.
And there you have it! You’ve successfully created a subdomain in DirectAdmin.
Wrapping It Up
Subdomains are a great tool for organizing and managing different sections of your website. Whether you’re using cPanel or DirectAdmin as your web hosting control panel, creating a subdomain is a quick and straightforward process. By following the instructions outlined in this guide, you’ll be able to set up subdomains for your website with ease, helping you enhance your website’s structure and improve user experience.